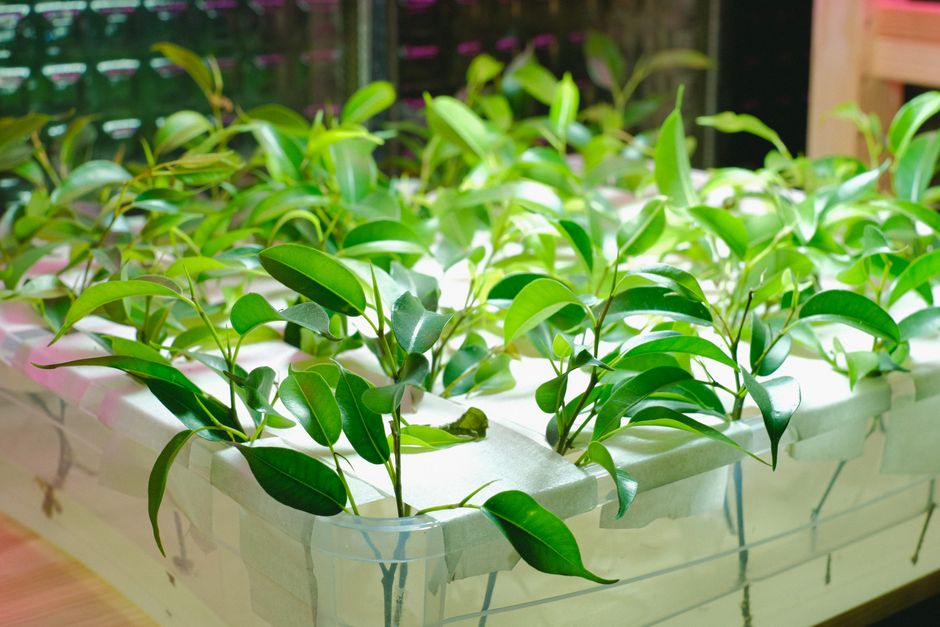
Build Your Own DIY DWC Hydroponics System
Ready to try hydroponics but want a system you can build yourself? A DIY Deep Water Culture (DWC) hydroponics system is an excellent choice for home growers looking to dive into active hydroponics. This simple yet effective method involves suspending plants with their roots directly in a nutrient-rich water solution, continuously oxygenated by an air pump. It's a fantastic way to grow leafy greens, herbs, and even some fruiting plants faster and more efficiently than traditional soil methods.
Building your own DWC system is easier than you think, often requiring just a few basic supplies you can find at a local hardware store. This guide will walk you through everything you need to know, from gathering materials to setting up your system and keeping your plants thriving.
What is a DIY DWC Hydroponics System?
A DIY DWC hydroponics system is a method where plant roots are submerged directly into a nutrient solution, with an air pump and air stone providing continuous oxygenation. This continuous access to oxygen, water, and nutrients allows plants to grow exceptionally fast and healthy, making it a favorite for many indoor gardeners.
Unlike passive systems like Kratky, DWC uses an active air pump to bubble oxygen into the water. This aeration is crucial for root health, preventing root rot and ensuring efficient nutrient uptake. It's a scalable system, meaning you can start with a single bucket or expand to multiple containers as your confidence grows.
For beginners, DWC offers a relatively straightforward entry into active hydroponics. Once set up, the main tasks involve monitoring nutrient levels, pH, and occasionally refilling the reservoir. It's a rewarding way to see rapid plant growth without the mess of soil.
What Supplies Do You Need for a DWC Build?
Building a basic DIY DWC hydroponics system requires only a handful of readily available items. Most of these can be found at hardware stores, pet stores (for aquarium supplies), or online gardening shops.
- Opaque Storage Container or Bucket: A dark-colored or opaque bucket (5-gallon is common) is ideal. It needs a lid to prevent light from reaching the nutrient solution, which can cause algae growth. If your bucket isn't opaque, you can paint it or wrap it in reflective material.
- Net Pots: These are small plastic mesh pots that hold your plant and growing medium. Typically 3-6 inches in diameter.
- Growing Medium: Inert media like rockwool, hydroton (clay pebbles), or coco coir are perfect for DWC. They support the plant while allowing roots to reach the nutrient solution.
- Air Pump: An aquarium air pump, sized appropriately for your container volume, will oxygenate the water.
- Air Stone: This attaches to the air pump via air tubing and creates fine bubbles in the nutrient solution.
- Air Tubing: Standard aquarium tubing to connect the air pump to the air stone.
- Hydroponic Nutrients: A balanced liquid nutrient solution formulated specifically for hydroponic growing. Always follow the dosage instructions on your chosen brand's label.
- pH Testing Kit or Meter: Essential for monitoring and adjusting the pH of your nutrient solution.
- pH Up/pH Down Solutions: To adjust the pH level as needed.
- Drill with Hole Saw Bit: To cut holes in the bucket lid for the net pots and for the air tubing.
How Do You Assemble a DIY DWC Hydroponics System?
Assembling your DWC system is a straightforward process that can be completed in a short amount of time. Follow these steps for a successful setup.
Preparing Your Container and Lid
First, ensure your bucket is clean and completely opaque. If it's a translucent bucket, paint it a dark color or cover it with reflective foil to block all light. Light penetration can lead to unwanted algae growth in your nutrient solution, which competes with your plants for resources.
Next, use your drill and a hole saw bit to cut holes in the bucket lid. The size of the hole saw should match the diameter of the net pots you're using. These holes will hold your net pots securely. You'll also need a smaller hole, just big enough for the air tubing, near the edge of the lid. Make sure the net pots fit snugly but can still be removed.
Setting Up the Air Pump and Stone
Insert the air stone into the bucket. Thread one end of the air tubing through the small hole you drilled in the lid and attach it to the air stone inside the bucket. Secure the air stone at the bottom of the bucket, perhaps with a small suction cup if it comes with one. Connect the other end of the air tubing to your air pump outside the bucket.
It's important to keep your air pump and any electrical timers away from potential water spills. This ensures safety and prevents damage to your equipment. You can find more detailed setup guidance in our Hydroponic Air Pump: Easy Beginner Setup Guide.
Mixing Your Nutrient Solution
Fill your bucket with water, leaving a few inches of space from the lid. Add your hydroponic nutrients according to the manufacturer's instructions for the specific stage of plant growth (seedling, vegetative, flowering). Stir the solution thoroughly to ensure the nutrients are evenly distributed.
Once mixed, check the pH of your nutrient solution using your pH testing kit or meter. Most plants thrive in a pH range of 5.5 to 6.5. Adjust the pH using 'pH Up' or 'pH Down' solutions until it falls within this range. Learning to maintain the right pH is crucial for healthy growth; our guide on How to Adjust Hydroponic pH can offer more details.
Adding Your Plants
Place your pre-started seedlings (preferably in rockwool cubes or coco coir plugs) into the net pots. The roots should hang down into the nutrient solution. If your seedlings are very small, make sure the bottom of the net pot is just touching the solution so the growing medium can wick water up to the roots. Once the roots grow longer, they will extend into the solution naturally.
You can learn more about starting seeds specifically for hydroponic systems in our How to Start Seeds for Hydroponics: Easy Beginner Guide.
Tips for Success with Your DWC Bucket Garden
Maintaining a healthy DIY DWC hydroponics system involves regular checks and a few simple practices to ensure your plants thrive. Consistent care will lead to abundant harvests.
Monitor Water Levels and Nutrient Strength
As your plants grow, they will absorb water and nutrients. Check the water level daily and top it off with fresh, pH-adjusted water (not nutrient solution) as needed. Every 1-2 weeks, completely change out the nutrient solution to replenish fresh nutrients and prevent nutrient imbalances. This also helps keep the water clean and oxygenated.
Maintain Proper pH
Regularly test and adjust the pH of your nutrient solution, ideally every few days. Fluctuations in pH can prevent your plants from absorbing essential nutrients, leading to deficiencies or stunted growth. Aim for that sweet spot between 5.5 and 6.5 for most common plants.
Ensure Good Airflow and Light
While the DWC system focuses on root oxygenation, good air circulation around your plants' leaves is also important. A small fan can help strengthen stems and prevent fungal issues. Provide adequate light using appropriate LED grow lights, adjusting their distance as your plants grow to prevent legginess or burning.
Prevent Algae Growth
Keep your DWC system opaque to prevent light from reaching the nutrient solution. Algae thrive in light and will compete with your plants for nutrients, potentially harming your crop. Regularly clean your reservoir during nutrient changes to remove any lingering algae.
What Plants Grow Best in a DWC System?
Many plants flourish in a DIY DWC hydroponics system, especially those that appreciate consistent moisture and rapid growth. Leafy greens and herbs are particularly well-suited for this method.
Excellent choices include:
- Leafy Greens: Lettuce (Romaine, Butterhead, Leaf), Spinach, Kale, Swiss Chard. These grow quickly and provide continuous harvests.
- Herbs: Basil, Mint, Chives, Cilantro, Dill. Most herbs thrive with the consistent water and nutrients provided by DWC.
- Fruiting Plants (with more care): Tomatoes, Peppers, Strawberries. While these can be grown, they often require larger systems, more precise nutrient management, and support structures as they grow.
Avoid root vegetables like carrots or potatoes, as their primary edible part grows underground and they don't do well suspended in water.
Final Thoughts
Building your own DIY DWC hydroponics system is a rewarding project that opens up a world of indoor growing possibilities. With a little setup and consistent care, you'll enjoy fresh, healthy produce right from your home. Experiment with different plants and enjoy the journey of becoming a hydroponic expert. Explore more MicroVeg guides for additional tips and tricks to enhance your indoor garden!
Frequently Asked Questions
Can I grow any plant in a DWC system?
While versatile, leafy greens and herbs typically thrive best in DWC systems due to their rapid growth and less complex root structures.
How often do I need to change the water in a DWC system?
You should completely change your DWC system's nutrient solution every 1-2 weeks to ensure plants receive fresh nutrients and prevent imbalances.
Is a DWC system noisy?
A DWC system will have a slight humming sound from the air pump and gentle bubbling from the air stone, which most people find unobtrusive.
What's the biggest advantage of DWC over Kratky?
DWC systems provide continuous oxygenation to the roots via an air pump, promoting faster growth and larger yields compared to the passive Kratky method.
Explore More DIY Setups Guides
 DIY Setups
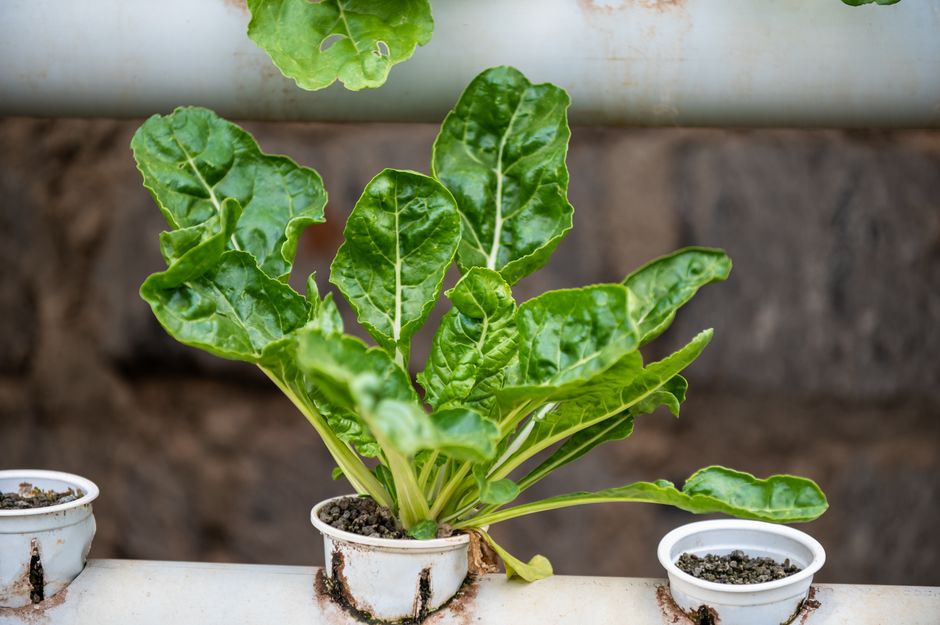
Build Your Vertical Indoor Garden: Small Space, Big Harvests
Learn how to create a vertical indoor garden and grow more fresh food in even the smallest spaces.
 DIY Setups
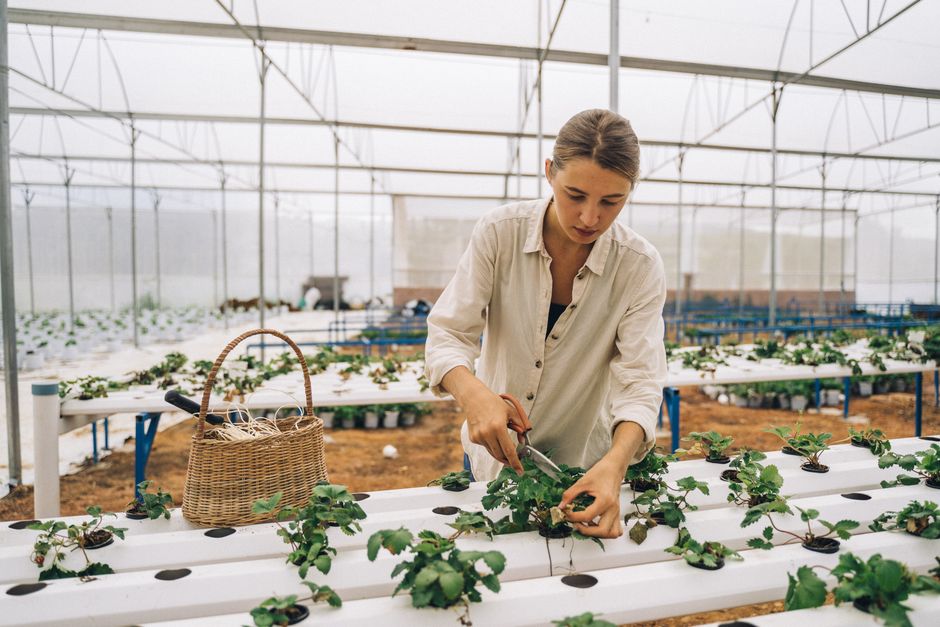
Kratky Hydroponics for Beginners: Easy No-Pump Setup
Discover Kratky hydroponics, a simple, passive method for growing fresh plants indoors without pumps or electricity, perfect for beginners.
 DIY Setups
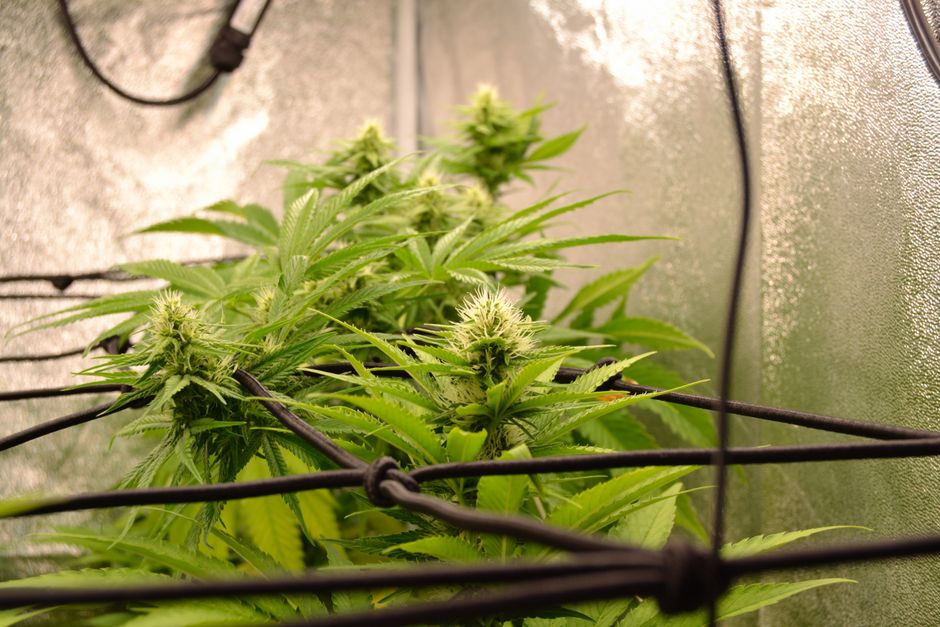
Budget Grow Tent Alternatives: DIY Small Space Solutions
Explore smart, budget-friendly grow tent alternatives for your indoor plants, perfect for small spaces and home growers.