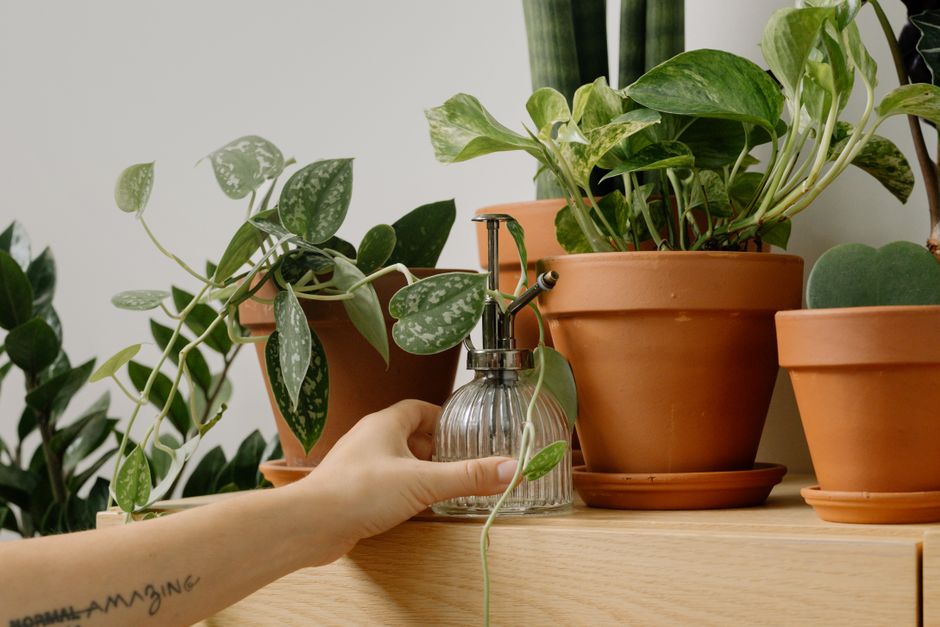
DIY Self-Watering Planter: Grow More, Water Less
A DIY self-watering planter is an ingenious, low-cost solution for keeping your indoor plants hydrated without constant attention. It uses a simple wick or reservoir system to provide a steady supply of water to your plant's roots, helping them thrive even if you forget to water for a few days. If you dream of a lush indoor garden but struggle with daily watering, building your own DIY self-watering planter can make that dream a reality. These clever systems are perfect for busy home growers, small spaces, and anyone looking for a more hands-off approach to plant care.
What is a DIY Self-Watering Planter?
A DIY self-watering planter is a container system designed to automatically provide water to your plants as they need it. It typically consists of two main parts: a reservoir that holds water and a growing container placed above it, connected by a wick or through direct contact, allowing water to move upwards into the soil. This method mimics how plants draw moisture from the ground, ensuring consistent hydration and reducing the risk of both overwatering and underwatering. It is a fantastic way to maintain healthy plants with less effort.
This kind of planter is ideal for anyone who travels often, has a busy schedule, or simply wants a more efficient way to care for their indoor greenery. You can make these systems from readily available materials, often things you already have around the house. This makes them an incredibly budget-friendly option for starting or expanding your indoor garden.
Why Build a Self-Watering Planter for Your Indoor Garden?
Building a self-watering planter offers several significant benefits for home growers, especially those with limited space or time. The primary advantage is consistent moisture for your plants, which leads to healthier growth and fewer stress-related issues. You no longer have to worry about your plants drying out between waterings.
These planters also save you time and effort. Instead of daily watering, you might only need to refill the reservoir once every week or two, depending on the plant and its environment. This makes indoor gardening more sustainable and enjoyable. Furthermore, a homemade self-watering pot helps reduce water waste, as plants only absorb what they need, and excess water drains back into the reservoir instead of spilling out. This also means less mess around your plants. For apartment gardening hacks, this is a top choice.
How to Build a Simple DIY Self-Watering Planter
You can build a functional and attractive DIY self-watering planter using common household items in just a few simple steps. This project is perfect for beginners and requires minimal tools. The basic design involves an upper pot for the plant and soil, a lower reservoir for water, and a wick to draw water up.
What Materials Do You Need?
Gathering your materials before you start will make the building process smooth. You will likely have many of these items already.
- Two plastic containers: one slightly smaller than the other. Examples include two plastic soda bottles, yogurt containers, or food storage containers. The smaller one needs to fit inside the larger one, with some space around it for water.
- Wicking material: a strip of cotton fabric, an old t-shirt, a shoelace (without plastic tips), or a synthetic felt strip works well.
- Drill or sharp object: to make holes (a pair of scissors or a utility knife can also work for plastic).
- Potting soil: a good quality mix that drains well but also retains some moisture.
- Your chosen plant or seeds.
Step-by-Step Assembly
Follow these steps to put together your homemade self-watering pot. Take your time, and remember to be careful when using sharp tools.
- **Prepare the plant container:** Take the smaller container. If it doesn't already have drainage holes, drill or carefully poke several small holes in the bottom. These holes will allow the wick to pass through and excess water to drain.
- **Create the wick:** Cut a strip of your chosen wicking material. It should be long enough to reach from the bottom of the smaller container, through one of the drainage holes, and extend into the bottom of the larger container (the reservoir).
- **Insert the wick:** Thread one end of the wick through one of the drainage holes in the bottom of the smaller container. Make sure a good portion of the wick sits inside the smaller container, ready to be surrounded by soil.
- **Prepare the reservoir:** Take the larger container. This will hold the water. If you are using a clear container, you might want to wrap it in dark paper or paint it to block light and help prevent algae growth in the water.
- **Assemble the system:** Place the smaller container (with the wick) into the larger reservoir container. The wick should extend down into the bottom of the reservoir. Ensure there's space between the bottom of the smaller container and the bottom of the reservoir for water.
- **Add soil and plant:** Fill the smaller container with potting soil, making sure the wick is surrounded by the soil. Plant your chosen herb or vegetable.
- **Fill the reservoir:** Pour water into the larger reservoir container until it reaches just below the bottom of the smaller plant container. The wick will now start drawing water up into the soil.
- **Initial watering:** Water the soil in the plant container from the top once to ensure it is thoroughly moistened and that the wick system begins to work effectively.
When working with electrical timers or pumps in any indoor garden setup, always keep them away from water spills to prevent electrical hazards. This simple safety measure protects you and your plants.
What Plants Thrive in a Self-Watering Planter?
Many common indoor plants and edibles are excellent candidates for a wick system planter, especially those that prefer consistently moist soil. Herbs are a fantastic choice for a kitchen or windowsill setup.
- **Herbs:** Basil, mint, parsley, chives, and cilantro all do very well. They love steady moisture and will provide fresh flavors for your cooking.
- **Leafy Greens:** Lettuce, spinach, and other microgreens appreciate constant hydration and can grow quickly in these systems.
- **Small Vegetables:** Cherry tomatoes (dwarf varieties), small peppers, and even strawberries can be grown successfully. Just ensure the plant size matches the container size.
- **Flowering Plants:** African violets and peace lilies are known to thrive with consistent moisture and are beautiful additions to any indoor space.
Avoid plants that prefer to dry out completely between waterings, like succulents or cacti, as they are prone to root rot in consistently moist conditions.
Tips for Success with Your Homemade Self-Watering System
To get the most out of your DIY self-watering planter, a few simple practices will help ensure your plants stay healthy and productive. Pay attention to these details for a thriving indoor garden.
- **Check water levels regularly:** While the system is automatic, the reservoir will eventually run dry. Check it every few days, especially when plants are actively growing, and refill as needed.
- **Use appropriate soil:** A good quality, lightweight potting mix is crucial. Heavy garden soil can become waterlogged and compact, hindering the wicking action and depriving roots of oxygen.
- **Monitor plant health:** Even with perfect watering, plants can face other issues. Look out for signs of pests or nutrient deficiencies. If you notice any unusual changes, refer to guides like Keep Indoor Garden Pests Away for help.
- **Clean your system:** Every few months, or between planting cycles, empty the reservoir and clean it to prevent mineral buildup and discourage algae. You might also want to replace the wick if it becomes clogged.
- **Provide adequate light:** Even the best self-watering system can't compensate for insufficient light. Position your planter near a bright window or supplement with a grow light if natural light is scarce.
Final Thoughts
Creating your own DIY self-watering planter is an incredibly rewarding and practical project for any home grower. It simplifies plant care, conserves water, and helps you maintain a vibrant indoor garden with minimal fuss. Enjoy the ease and efficiency of these clever systems, and watch your plants flourish. For more innovative ideas and practical advice for your indoor garden, explore other MicroVeg guides.
Frequently Asked Questions
How often do I need to refill a self-watering planter?
The refill frequency depends on the plant size, type, and environment, but generally, you will need to refill the reservoir every 1-2 weeks.
Can I use any type of soil in a self-watering planter?
No, it is best to use a lightweight, well-draining potting mix that allows for good aeration and wicking action, avoiding heavy garden soil.
What is the best wicking material for a DIY self-watering planter?
Cotton fabric, strips of old t-shirts, or synthetic felt are excellent wicking materials because they absorb and transport water effectively.
Do self-watering planters prevent overwatering?
Yes, they largely prevent overwatering because plants only draw up the moisture they need, and excess water stays in the reservoir, reducing the risk of soggy soil.
Explore More DIY Setups Guides
 DIY Setups
Indoor Mini Greenhouse: Grow More in Small Spaces
An indoor mini greenhouse offers a compact, controlled environment perfect for growing plants, starting seeds, and protecting delicate greens in any small space.
 DIY Setups
Build a Vertical Hydroponic System: Grow More in Less Space
Maximize your growing potential in tiny spaces by building your own vertical hydroponic system with our simple, budget-friendly guide.
 DIY Setups
Build a Simple Kratky Hydroponic System for Easy Growing
Discover how to build your very own Kratky hydroponic system, a simple, passive method perfect for beginners and small spaces.