Best Microgreens to Grow Indoors & How to Harvest Them
Are you looking to add fresh, nutrient-packed greens to your plate, even if you only have a small space? Growing your own microgreens indoors is a fantastic way to do it. These tiny, edible seedlings are harvested young, typically when their first true leaves begin to emerge, offering concentrated flavor and nutrients. Choosing the best microgreens to grow indoors means picking varieties known for fast growth, good germination rates, and delicious flavors, making them perfect for beginners.
This guide will walk you through some of the easiest and most rewarding microgreen varieties, along with practical advice on exactly when and how to harvest them for peak freshness. Get ready to turn a small corner of your home into a vibrant, edible garden!
What Are the Easiest Microgreens to Grow Indoors?
Several varieties are beginner-friendly due to their quick germination, robust growth, and forgiving nature. These plants typically sprout quickly and grow uniformly, making them ideal for your first microgreen projects.
When starting your indoor microgreen garden, consider these popular options. Each offers a unique flavor profile and growing experience, ensuring you'll find something you love to grow and eat.
Radish Microgreens: Fast & Peppery
Radish microgreens are one of the fastest and most rewarding options for home growers. They typically germinate in just 2-3 days and are ready for harvest in about 7-10 days.
Their flavor is a milder, yet distinct, peppery kick, similar to mature radishes but less intense. Radish microgreens add a wonderful zing to salads, sandwiches, and even tacos, making them a versatile culinary addition.
Pea Shoots: Sweet & Crunchy
Pea shoots, grown from regular dried peas, are a fantastic choice for their sweet flavor and satisfying crunch. They are a bit slower than radish, usually germinating in 3-5 days and ready for harvest in 10-14 days.
These shoots can often be cut a second time, offering an extended harvest from a single planting. Their mild, sweet flavor makes them a favorite for snacking, stir-fries, and as a garnish for almost any dish.
Sunflower Microgreens: Nutty & Substantial
Sunflower microgreens offer a substantial, nutty flavor and a satisfying texture. They take a little longer to grow, typically germinating in 4-7 days and ready for harvest in 10-16 days.
You'll need to remember to remove the hulls (the black seed shells) from the cotyledons before harvesting, as they can be tough to eat. These larger microgreens are excellent in salads, blended into smoothies, or as a bed for other ingredients.
Broccoli Microgreens: Mild & Mighty
Broccoli microgreens are celebrated for their mild, slightly bitter flavor and impressive nutritional profile. They germinate in 3-5 days and are usually ready for harvest in 8-12 days.
These tiny greens are a popular choice for health-conscious growers due to their high concentration of beneficial compounds. They blend well into smoothies or can be used to add a subtle crunch and fresh flavor to any meal.
Arugula Microgreens: Zesty & Quick
Arugula microgreens provide a distinct, zesty, and peppery flavor, similar to mature arugula but with a more delicate texture. They germinate quickly, usually in 2-3 days, and are ready to harvest in 8-12 days.
If you love the bold taste of arugula, you'll enjoy these speedy growers. They are perfect for adding a gourmet touch to pizzas, pasta, or as a vibrant topping for avocado toast.
When Is the Best Time to Harvest Microgreens?
Harvest microgreens when their first true leaves begin to emerge, usually 7-21 days after planting, depending on the variety. This is the stage when they are most tender, flavorful, and packed with nutrients.
The first set of leaves that appear are called cotyledons. These are the embryonic leaves. After the cotyledons fully open and expand, you'll soon see a smaller set of leaves forming in the center. These are the true leaves. While you can harvest some varieties at the cotyledon stage, waiting for the true leaves to just start showing often provides the best flavor and texture. For a deeper understanding of these growth stages, you might find our guide on Microgreens vs Sprouts helpful.
How Do You Harvest Microgreens Correctly?
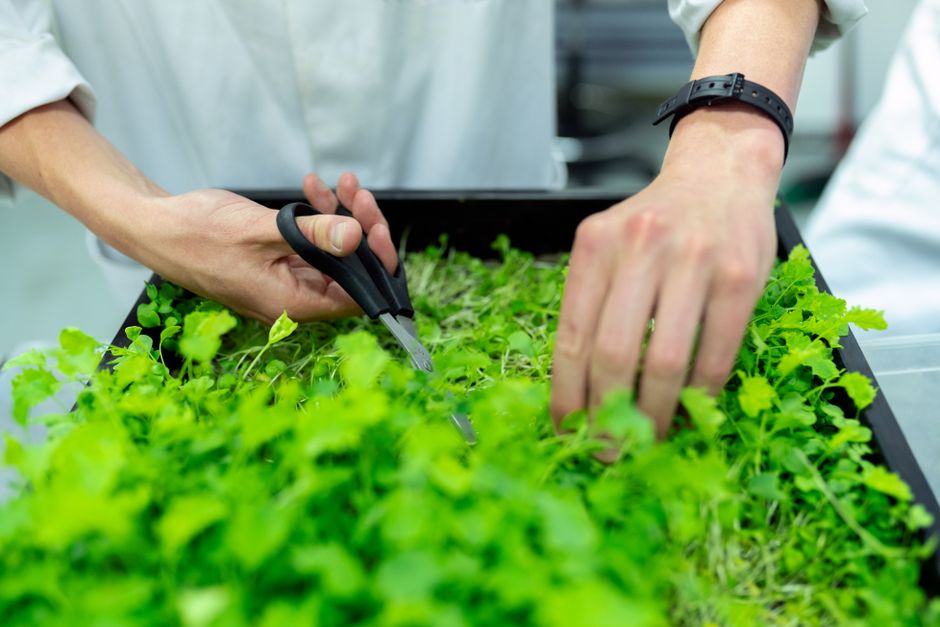
To harvest microgreens, use sharp, clean scissors or a knife to cut the stems just above the soil or growing medium level. This method ensures you get the maximum edible portion of the plant.
Before you begin, make sure your tools are sterilized to prevent introducing any bacteria to your greens. Always wash your freshly harvested microgreens before eating them. Keeping your growing environment clean, as discussed in our guide on Clean Indoor Growing Setup, also contributes to healthy, safe produce.
Steps for Harvesting Your Microgreens:
- **Gather Your Tools:** You'll need a clean, sharp pair of kitchen scissors or a small, sharp knife.
- **Inspect Your Greens:** Ensure your microgreens are at the right stage, with cotyledons fully open and true leaves just starting to appear.
- **Cut Carefully:** Hold a small bunch of microgreens gently and use your scissors or knife to make a clean cut just above the growing medium. Try to avoid disturbing the roots or medium too much.
- **Rinse & Enjoy:** Place your harvested microgreens in a colander and rinse them gently under cool water. Pat them dry with a paper towel or use a salad spinner before serving.
- **Store Smartly:** If you're not eating them immediately, store dry microgreens in an airtight container lined with a paper towel in your refrigerator. They typically last for several days.
Can Microgreens Regrow After Harvesting?
Some microgreens, like pea shoots and specific basil varieties, can regrow for a second harvest if cut correctly. Most common microgreens, however, do not regrow significantly after their initial harvest.
For varieties that might regrow, like pea shoots, cut the stem just above the lowest set of leaves or nodes. This leaves enough plant material to potentially sprout new growth. However, for most microgreens, especially those harvested at the cotyledon stage, cutting them above the growing medium means the plant's growth point is removed, preventing further significant development. It's usually more efficient to replant new seeds for a continuous supply of the best microgreens to grow indoors.
Final Thoughts
Growing the best microgreens to grow indoors is a simple and rewarding endeavor, bringing fresh, nutritious flavor right to your kitchen. By choosing easy varieties and mastering the art of timely harvesting, you can enjoy a continuous supply of these delightful greens. Keep experimenting with different types, and soon you'll have a vibrant indoor garden to enhance all your meals. Explore more MicroVeg guides to continue your indoor growing adventure!
Frequently Asked Questions
What microgreens are best for beginners?
Radish, broccoli, pea shoots, sunflower, and arugula microgreens are excellent choices for beginners due to their fast growth and ease of cultivation.
How long does it take to grow microgreens?
Most microgreens are ready to harvest in 7 to 21 days from planting, depending on the specific variety and growing conditions.
Do I need special equipment to grow microgreens?
No, you can start with basic supplies like shallow trays, a growing medium (like coco coir or soil), seeds, and a spray bottle. A simple LED grow light can also be very helpful.
Can I eat microgreens that have not developed true leaves yet?
Yes, many microgreens are perfectly edible and delicious when harvested at the cotyledon stage, though some varieties develop more complex flavors once true leaves begin to emerge.
Explore More Microgreens Guides
 Microgreens
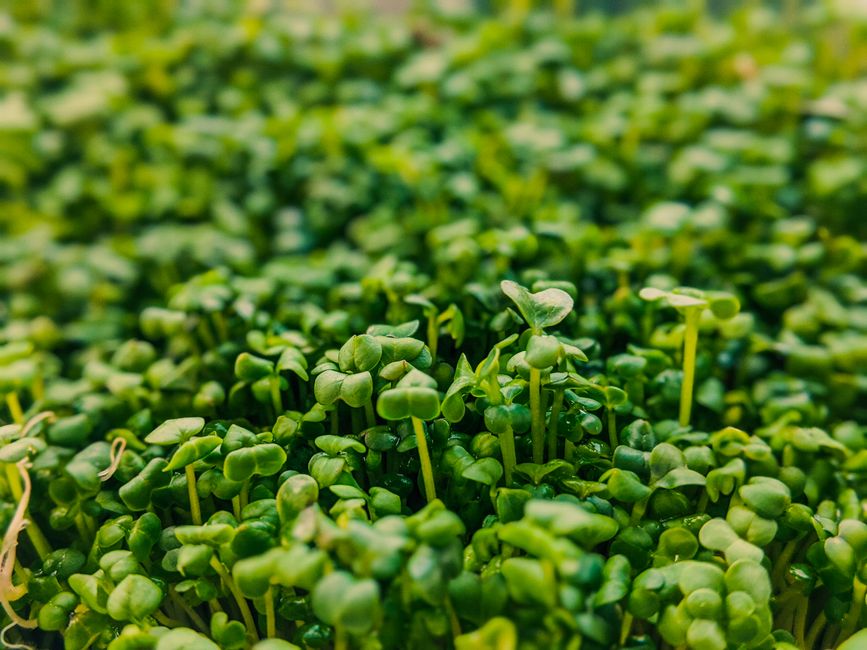
When to Harvest Microgreens: Your Guide to Perfect Timing
Learn the best time to harvest your microgreens for maximum flavor and nutrition, ensuring a perfect crop every time.
 Microgreens
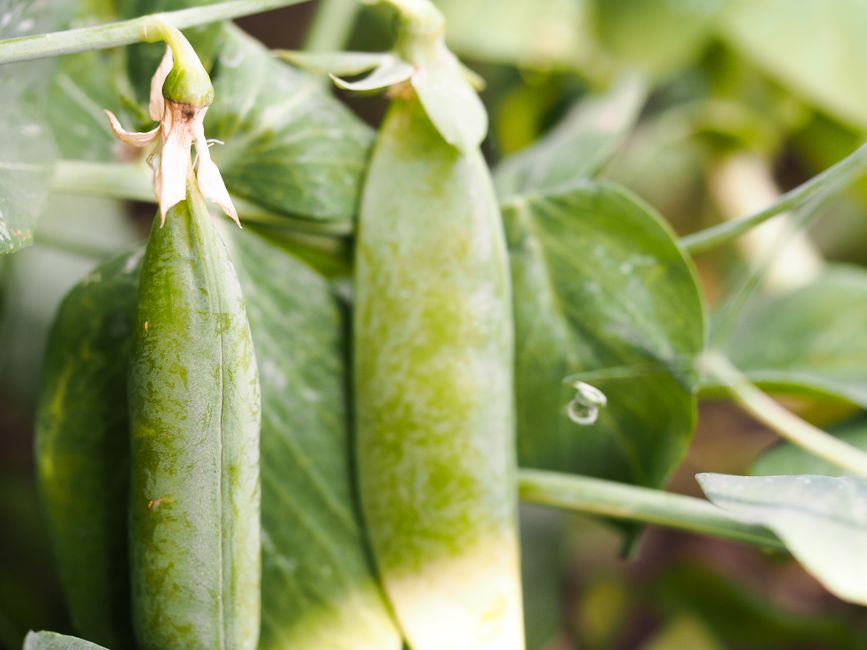
Can You Regrow Pea Shoots After Harvesting?
Discover how to get multiple harvests from your pea shoots by using the right cutting technique for easy indoor growing.
 Microgreens
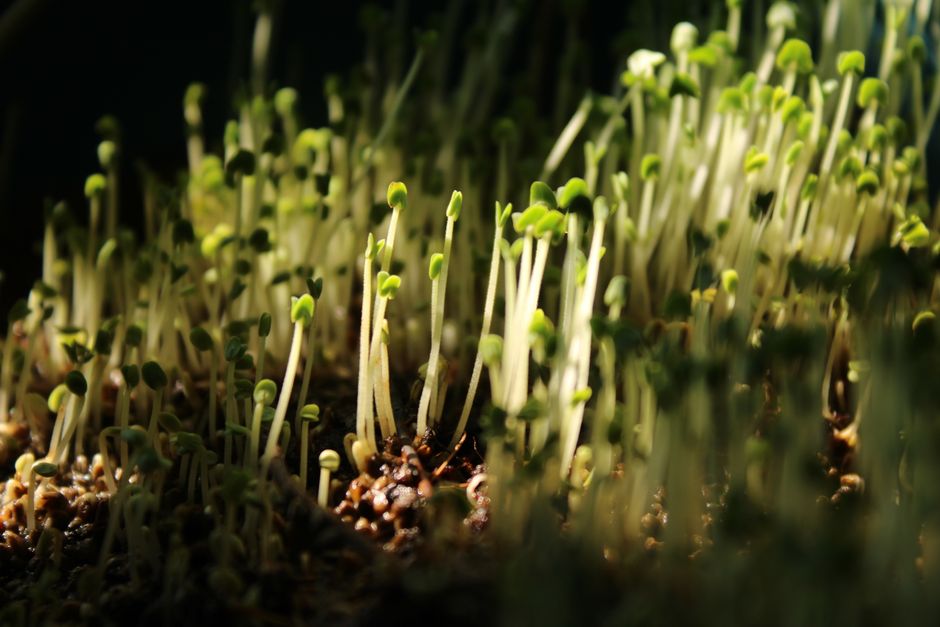
Easiest Microgreens to Grow: Your Quick Start Guide
Discover the easiest microgreens to grow at home with this beginner-friendly guide, perfect for quick, fresh harvests.