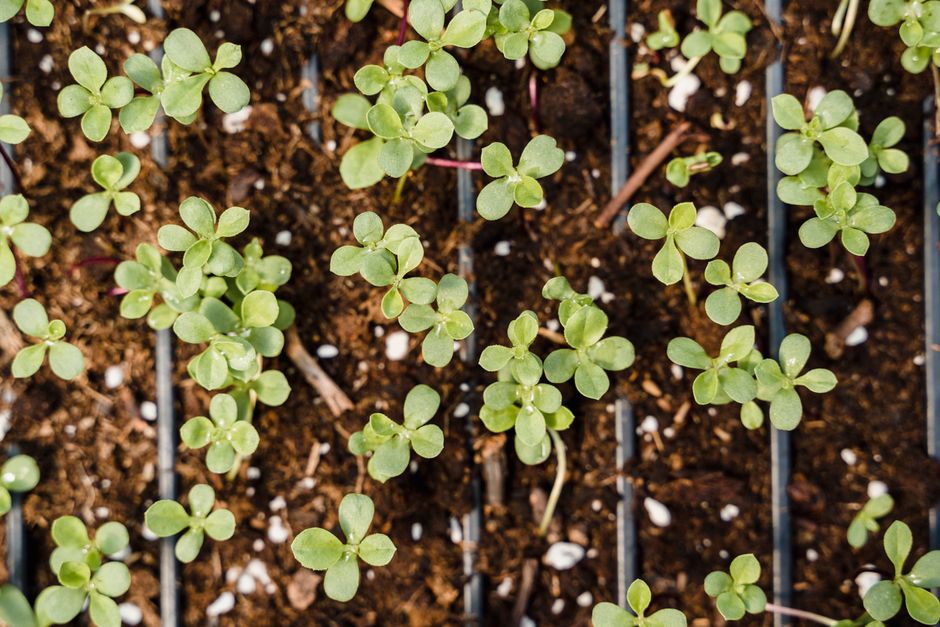
How to Grow Microgreens Without Soil: Easy Step Guide
Growing fresh greens inside your apartment does not require heavy bags of potting dirt lying around your living space. You can easily grow microgreens without soil right on your kitchen counter using clean, reusable mats or simple paper towels. This soil-free method gives you quick harvests with almost zero mess to clean up afterward.
Why Should You Grow Microgreens Without Soil?
You should grow microgreens without soil because it eliminates messy dirt, prevents soil-borne pests, and speeds up your harvest cleanup. When growing indoors in small spaces, carrying heavy bags of dirt upstairs or washing soil off tiny leaves can be frustrating. Using water-retentive mats or hydroponic pads keeps your kitchen counters clean and your harvest completely grit-free.
Another big benefit is mold control. Dirt often holds excess moisture and damp fungus spores that ruin young crops. By using clean growing pads, you reduce the risk of damping off and fungal issues in your trays.
Best Soil-Free Growing Mediums
Several hydroponic mediums work exceptionally well for indoor trays. Hemp fiber mats are biodegradable, hold water evenly, and provide ideal root anchorage for quick crops. Coco coir mats are another top choice because they hold moisture while allowing plenty of oxygen to reach the roots.
Paper towels and unbleached coffee filters work well for tight budget setups. If you are comparing different root mediums for indoor crops, read our guide on Rockwool vs Coco Coir: Which Medium Is Best? to see how hydroponic materials perform.
What Seeds Work Best Without Soil?
The seeds that work best without soil are fast-growing varieties with strong root systems like radish, broccoli, kale, cabbage, and mustard. These crops germinate quickly and produce sturdy taproots that anchor firmly into fiber mats or paper layers without requiring deep substrate.
Pea shoots and sunflower seeds also perform remarkably well on fiber pads. They require a brief soaking period in clean water before planting to soften their outer shells, which speeds up sprouting across the whole tray.
You should avoid small mucilaginous seeds like chia, flax, and basil on bare mesh trays unless you use specialized absorbent mats. These seeds create a gelatinous outer coating when wet, which can turn slimy if they do not have the right balance of airflow and moisture retention.
How Do You Grow Microgreens Without Soil Step by Step?
You grow microgreens without soil by saturating your medium with water, scattering seeds evenly across the surface, and keeping them in darkness under light weight until roots establish. Following a systematic process ensures high germination rates and thick, healthy trays of greens.
Before you begin, gather a shallow growing tray with drainage holes, a solid bottom tray to catch excess liquid, your chosen fiber mat, and clean water. Here is what you need for a complete setup:
- Shallow growing tray with drainage holes
- Solid bottom tray for water retention
- Hemp fiber mat, coco pad, or thick paper towel layers
- Quality microgreen seeds
- Spray bottle filled with fresh water
- A flat tray or board to place on top during blackout
Step 1: Wet the Medium
Place your chosen pad or paper layers inside the tray with drainage holes. Pour fresh water over the pad until it is completely saturated, then tilt the tray slightly to pour off any excess standing liquid. The medium should feel thoroughly wet like a wrung-out sponge, but not submerged.
Step 2: Sow Seeds Evenly
Scatter your seeds evenly across the wet surface. Aim for a dense layer where seeds lie close together without piling directly on top of one another. Crowded seeds can lead to airflow problems, while sparse seeding yields a thin harvest.
Step 3: The Blackout Phase
Cover the seeded tray with an inverted tray or flat board to block out all light. Place a light weight on top, such as a small book or stone. This weight forces the roots to push downward into the fiber pad, creating a strong root base. Keep the tray in a dark spot for a few days, misting lightly if the surface feels dry.
Step 4: Move to Light and Harvest
Once the sprouts stand upright and lift the cover off, move them into direct light or under a desktop light fixture. As a practical safety tip, keep electrical cords, lights, and timers away from tray water spills, and always wash your harvested greens with clean water before eating them.
How Do You Water Hydroponic Microgreens Without Washing Them Away?
You water hydroponic microgreens by filling the bottom tray with water so the fiber mat absorbs moisture from below rather than spraying top leaves directly. Bottom watering prevents seed displacement, stops delicate stems from falling over, and reduces humidity around the leaves where mold thrives.
To bottom water, lift the top tray containing the growing pad and pour a shallow layer of fresh water into the solid bottom tray. Set the top tray back inside so the bottom of the pad sits directly in the liquid. The mat will draw water upward like a wick, giving the roots constant moisture without flooding the stems.
Troubleshooting Common Water and Color Problems
If you notice stagnant water sitting in the bottom tray for more than a day, pour out the excess. Leaving roots submerged in stagnant liquid starves them of oxygen and creates bad odors. Always empty the bottom reservoir before adding fresh water.
Yellow sprouts can happen when young shoots stay in total darkness for too long or suffer from nutrient issues. If your crop starts looking pale or faint yellow, check out our guide on Why Are My Seedlings Turning Yellow? 5 Easy Fixes to get them green and healthy again.
Final Thoughts
Learning how to grow microgreens without soil gives you a fast, reliable supply of fresh indoor greens without dealing with messy dirt on your kitchen counter. With just a shallow tray, a fiber pad, and daily watering, you can harvest nutrient-rich sprouts every few weeks. Check out our other MicroVeg guides to discover more easy ways to expand your small-space indoor garden.
Frequently Asked Questions
Do microgreens need liquid fertilizer when grown without soil?
Most fast-growing microgreens harvested within two weeks do not need fertilizer because the seed contains enough stored energy. If growing longer crops like peas, adding a diluted hydroponic nutrient solution to the water reservoir supports healthy development.
Can you reuse paper towels or hemp mats for microgreens?
You should not reuse paper towels or fiber mats because old root debris attracts mold and bacteria. Always start with a fresh mat or clean paper towel layer for every new batch of seeds.
How long does it take to harvest microgreens without soil?
Most soil-free microgreens are ready to harvest in seven to fourteen days after planting. Crop growth speed depends on the seed variety and the amount of room light provided.
Why are my hydroponic microgreens falling over?
Microgreens usually fall over when they do not receive enough light or if the growing mat dries out completely. Ensure your light source sits directly above the tray and keep the mat consistently moist.
Explore More Microgreens Guides
 Microgreens
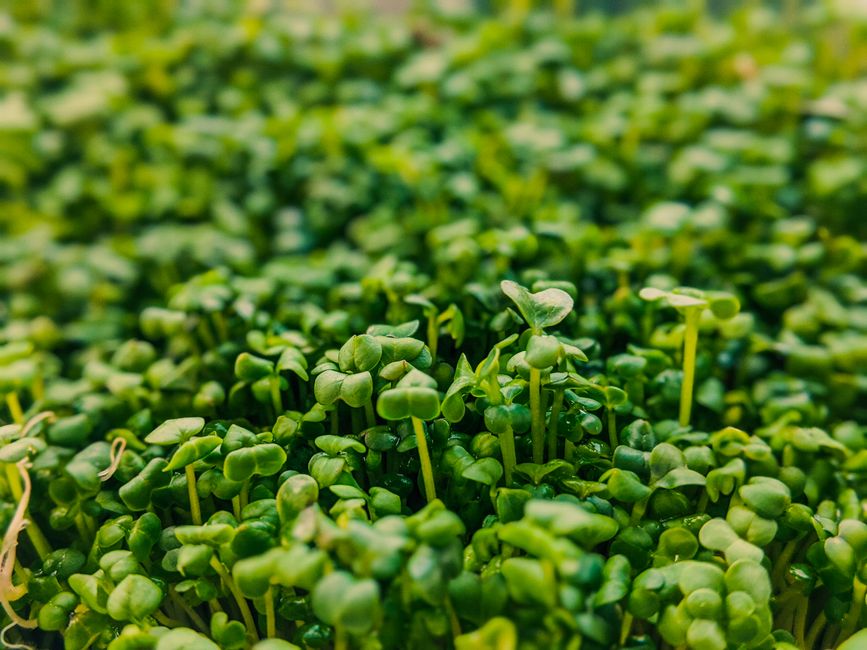
When to Harvest Microgreens: Your Guide to Perfect Timing
Learn the best time to harvest your microgreens for maximum flavor and nutrition, ensuring a perfect crop every time.
 Microgreens
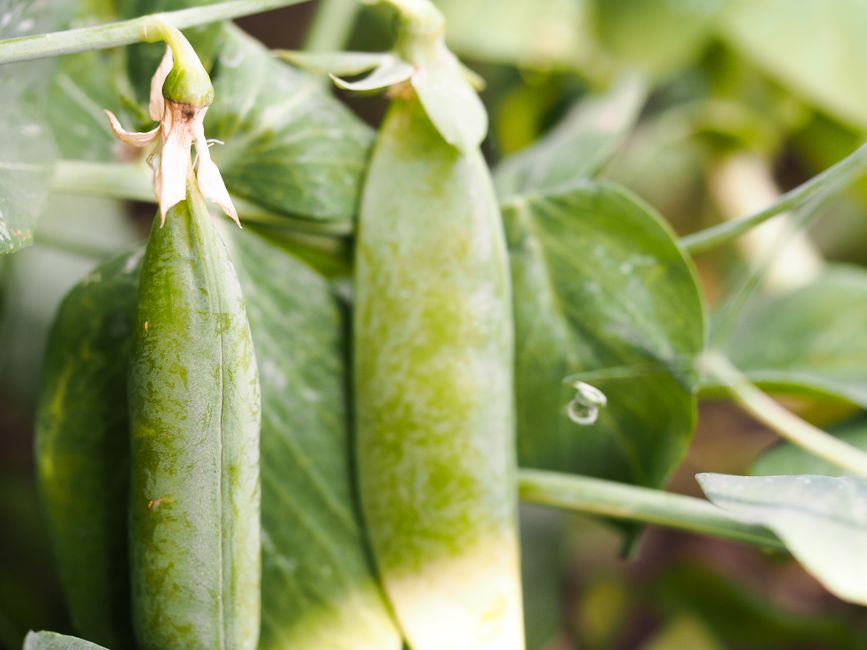
Can You Regrow Pea Shoots After Harvesting?
Discover how to get multiple harvests from your pea shoots by using the right cutting technique for easy indoor growing.
 Microgreens
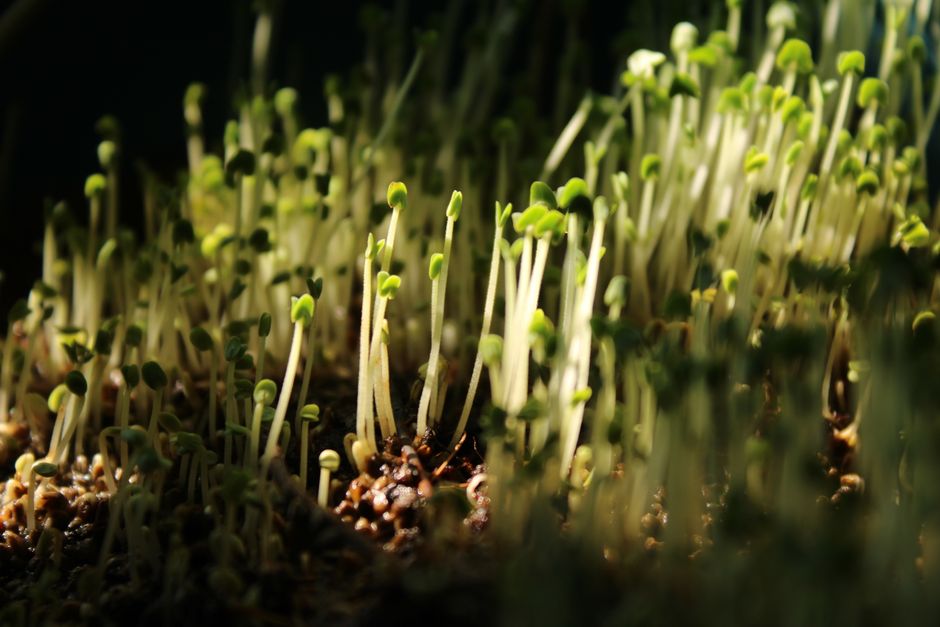
Easiest Microgreens to Grow: Your Quick Start Guide
Discover the easiest microgreens to grow at home with this beginner-friendly guide, perfect for quick, fresh harvests.