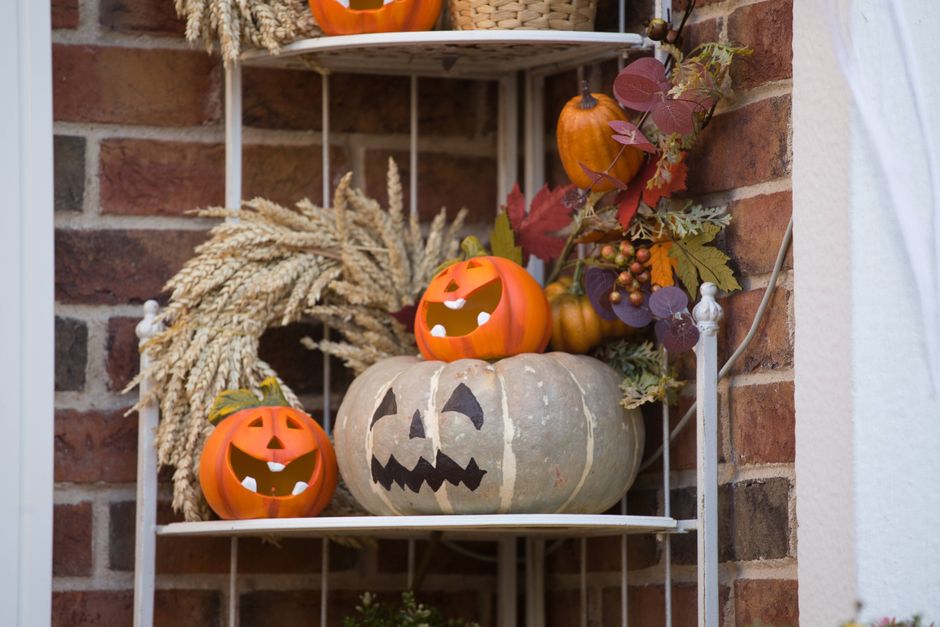
Choosing a Carving Pumpkin for Indoor Display
As the air turns crisp outside, many of us indoor growers still love to bring a touch of the season inside our homes. While our hydroponic gardens might be growing year-round, there's a special joy in decorating for holidays like Halloween. A classic carving pumpkin can be a wonderful addition to your indoor space, but choosing the right one is key to ensuring it lasts and looks its best. Choosing a carving pumpkin means carefully inspecting it for quality, checking its shape, and ensuring it will hold up well in your home environment, especially when displayed near your precious plants.
This guide will walk you through the essential steps for selecting a prime carving pumpkin, tailored for home growers who want their festive decorations to complement, not complicate, their indoor gardening efforts.
How Can I Choose a Carving Pumpkin for Quality and Longevity?
To choose a carving pumpkin that lasts, always look for firm flesh, an even color, and absolutely no soft spots, dark blemishes, or deep cuts on its surface. The quality of your pumpkin directly affects how long it will remain fresh, especially in the controlled environment of an indoor garden.
Start by giving the pumpkin a gentle squeeze all over. It should feel hard and solid, like a ripe melon. Any areas that feel spongy, soft, or squishy are signs of rot already setting in, which will spread quickly once you bring the pumpkin indoors. Rotting pumpkins can attract unwanted pests and even mold, which you definitely don't want near your indoor herb garden.
Examine the skin for any deep cuts, punctures, or large bruises. Small surface scratches are usually fine, but anything that breaks through the skin can create an entry point for bacteria and fungi, accelerating decay. Look for an even, vibrant orange color. Discoloration or large pale patches might indicate uneven ripening or sun scald, affecting the pumpkin's overall health and longevity.
What's the Best Shape and Size for Indoor Carving?
The best shape and size for an indoor carving pumpkin are typically stable, symmetrical, and appropriately sized for your available display space, with smooth, blemish-free surfaces. Unlike outdoor pumpkins that can be as large as you want, indoor pumpkins need to fit comfortably without overwhelming your small-space garden.
Consider the dimensions of your shelves, tables, or countertops where you plan to display your pumpkin. A pumpkin that's too large might be difficult to handle during carving and could look out of place in a compact setting. Aim for a pumpkin that has a flat bottom, ensuring it sits securely without wobbling. This stability is crucial, especially if you plan to carve intricate designs or place it on a shelf.
A symmetrical shape with smooth, relatively flat sides provides the best canvas for carving. Bumps, ridges, and deep grooves can make carving challenging and limit your design options. Think about the overall aesthetic you want to achieve with your indoor garden decorations. A well-proportioned pumpkin will be easier to work with and look more appealing.
How Do I Check a Carving Pumpkin for Hidden Flaws and Pests?
You must thoroughly inspect the pumpkin's entire surface for any hidden flaws like soft spots, mold, or signs of insect activity, paying close attention to the underside and around the stem. This diligent check is especially important for indoor growers to prevent bringing unwanted issues into your clean growing environment.
Turn the pumpkin over and check the bottom. This area often gets overlooked and can harbor soft spots from sitting on wet ground or developing mold. Feel for any mushy areas or discoloration. Look for tiny holes, chew marks, or any unusual residue that might indicate pests. While serious infestations are rare on pumpkins meant for carving, even a few hitchhiking insects could pose a threat to your indoor plants.
Before bringing any pumpkin into your home, wipe it down with a damp cloth to remove any dirt or potential surface contaminants. This simple step helps keep your indoor space clean and reduces the risk of introducing anything undesirable to your hydroponic systems or microgreen trays.
Why is a Healthy Stem So Important?
A healthy, intact stem is a critical indicator of a pumpkin's freshness and helps prevent premature rotting. The stem is essentially the pumpkin's last connection to its life source, and it plays a vital role in its post-harvest preservation.
When choosing a carving pumpkin, always look for a stem that is firmly attached, green or dark brown, and feels solid. Avoid pumpkins with broken, shriveled, or moldy stems. A damaged stem creates an open wound where bacteria and fungi can easily enter, leading to rapid decay. If the stem is missing entirely, it's a clear sign that the pumpkin's protective barrier has been compromised, and it likely won't last long.
Think of the stem as a natural seal. Keeping it healthy helps the pumpkin retain its internal moisture and provides a protective cap against external pathogens. While you won't be growing this pumpkin, applying the same attention to detail you use for your edible indoor crops will help you choose the best decorative one.
Where Should I Display My Carving Pumpkin Indoors to Keep it Fresh?
Place your carved pumpkin in a cool, dry area with good air circulation, away from direct sunlight, heat sources, and high humidity to maximize its freshness indoors. Indoor growers already manage these environmental factors for their plants, and the same principles apply to keeping your pumpkin looking great.
Avoid placing your pumpkin near windows where it will receive direct sunlight, as this can cause it to dry out, shrivel, and accelerate decay. Similarly, keep it away from heat vents, radiators, or fireplaces. The warmth will speed up the rotting process. If you have grow lights, ensure your pumpkin isn't directly under them, as the heat and intense light can also have a negative effect. Remember to always keep electrical timers, pumps, and other hydroponic equipment away from any water spills from your display.
While your hydroponic setup might thrive in humidity, your carved pumpkin will not. Excessive moisture encourages mold growth, so keep it separate from humid areas of your indoor garden. Good air circulation is also key; don't tuck your pumpkin into a tight, enclosed space. Allow air to move freely around it to prevent moisture buildup on its surface.
What Preparation Steps Help a Carved Pumpkin Last Longer?
To make your carved pumpkin last longer, thoroughly clean out all the pulp and seeds, dry the interior completely, and consider applying a protective coating to the carved surfaces. These steps are crucial for extending its display life beyond just a few days.
Once you've cut open your pumpkin, use a sturdy spoon or scoop to remove every last bit of stringy pulp and all the seeds. The remaining pulp holds a lot of moisture, which is a prime breeding ground for mold and bacteria. Scrape the interior walls until they are as smooth and clean as possible.
After cleaning, dry the inside of the pumpkin thoroughly. You can use paper towels or even let it air dry for several hours, turning it occasionally to ensure all surfaces are dry. Some growers even use a hairdryer on a cool setting to speed up this process. The drier the interior, the slower the decay.
Finally, once carved and dried, you can apply a thin layer of petroleum jelly to all the cut edges and the interior surfaces. This creates a barrier that slows down moisture loss and prevents mold. Alternatively, a diluted bleach solution (one tablespoon of bleach per quart of water) can be sprayed inside to kill bacteria, but ensure it's completely dry before bringing it near any plants. For more ideas on cleaning and sanitizing, check out our guide on cleaning your hydroponic reservoir.
Final Thoughts
Choosing a carving pumpkin doesn't have to be a gamble, even when you're focusing on an indoor display. By carefully inspecting for quality, considering its shape and size for your space, checking for hidden flaws, and preparing it correctly, you can ensure your festive decoration lasts throughout the season. Enjoy the glow of your perfectly chosen and carved pumpkin in your indoor garden. Explore more MicroVeg guides for year-round growing inspiration!
Frequently Asked Questions
How long do carved pumpkins last indoors?
A carved pumpkin typically lasts 3-7 days indoors, but with proper selection and preparation, you can extend its life to about two weeks in a cool, dry environment.
Should I wash a pumpkin before carving?
Yes, it's a good idea to gently wipe down the outside of your pumpkin with a damp cloth to remove dirt and surface contaminants before carving and bringing it indoors.
What kind of pumpkin is best for carving?
Look for pumpkins specifically labeled 'carving pumpkins' or 'jack-o'-lantern pumpkins,' as these varieties tend to have thinner walls and easier-to-cut flesh.
Can I put a carved pumpkin next to my hydroponic plants?
It's best to keep carved pumpkins a safe distance from your hydroponic plants to prevent any potential mold spores or pests from spreading, especially if the pumpkin starts to decay.
Explore More Plant Care Guides
 Plant Care
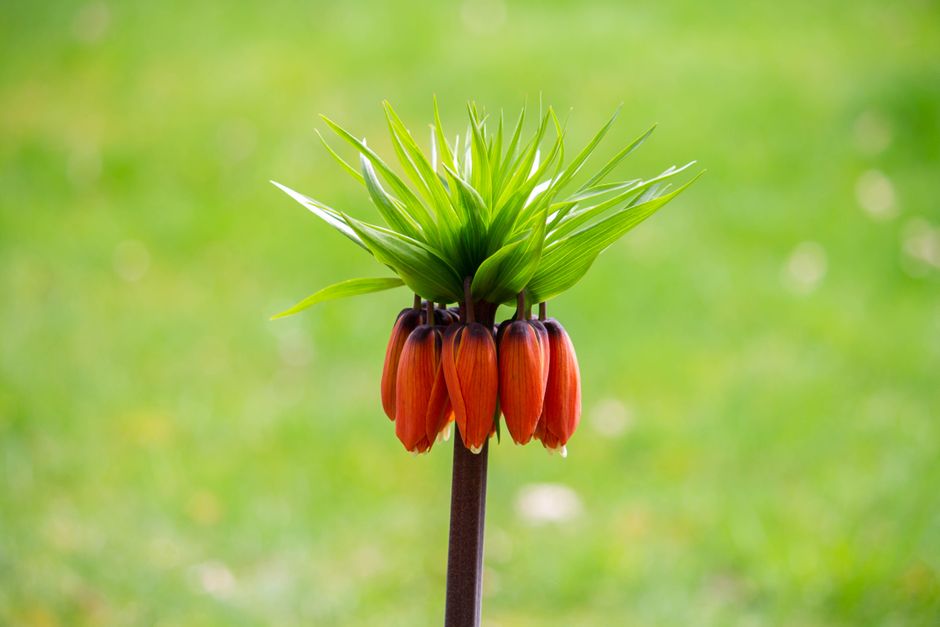
Crown Imperial Indoors: Can This Showstopper Thrive?
Learn if the magnificent Crown Imperial can truly thrive in your indoor container garden or on your balcony, and what challenges you might face.
 Plant Care
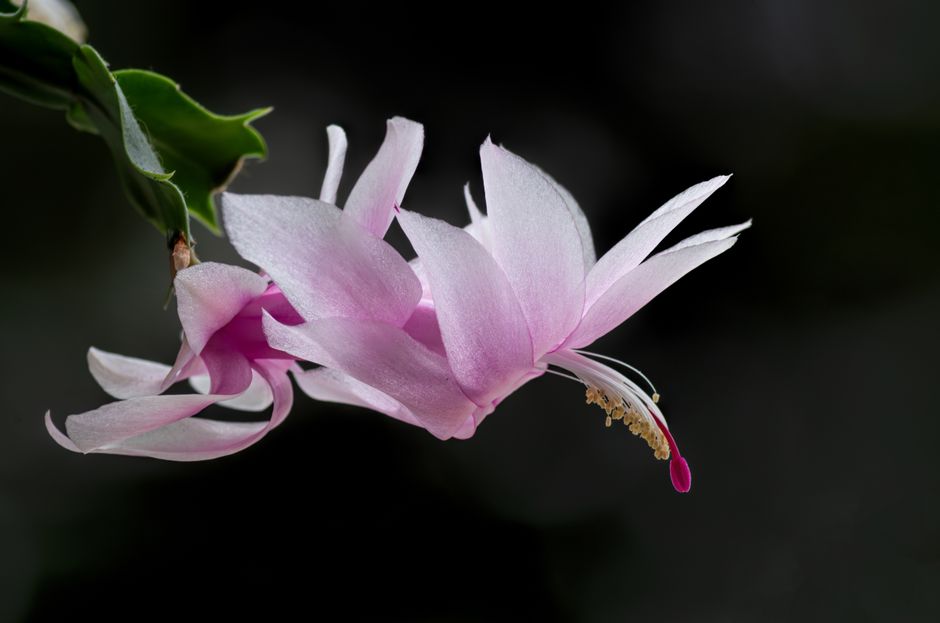
Christmas Cactus Bloom: 3 Secrets for Indoor Growers
Learn the simple, practical secrets to make your Christmas cactus bloom beautifully indoors, turning your home into a festive display.
 Plant Care
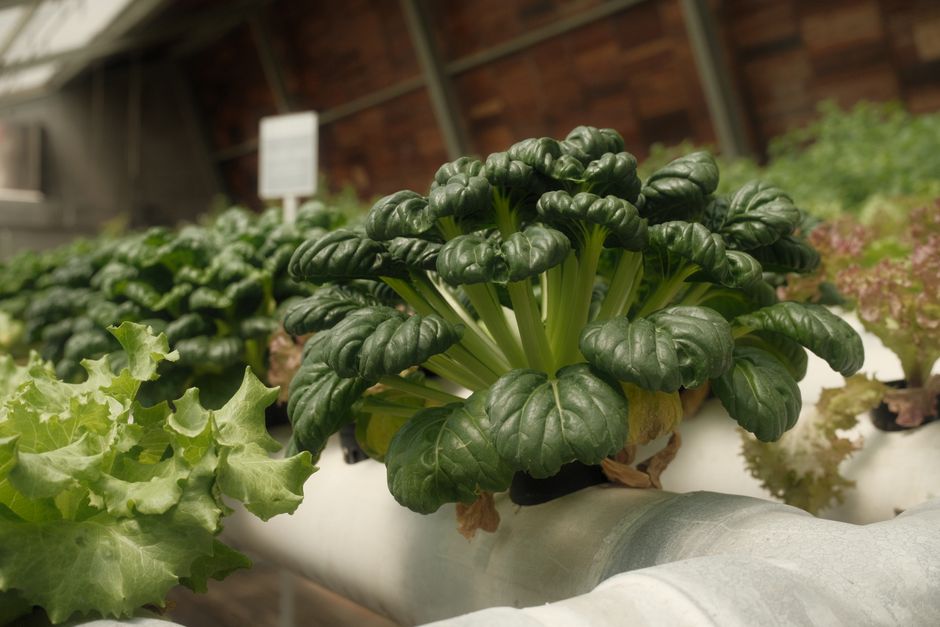
Prevent Algae in Hydroponics: Your Guide to Clean Systems
Discover simple, effective strategies to prevent algae in hydroponics and keep your indoor gardening system clean and your plants thriving.