
Indoor Composting: Turn Kitchen Scraps Into Plant Gold
Are you looking for ways to boost your indoor garden while reducing household waste? Then it's time to explore indoor composting. This practical process transforms organic materials, like vegetable peels and coffee grounds, into a dark, crumbly, nutrient-rich soil amendment. It's a fantastic way for home growers to create their own plant food, improve soil structure, and contribute to a more sustainable lifestyle, even in small living spaces.
Instead of tossing those kitchen scraps, you can give them a new purpose, supporting the growth of your microgreens, herbs, and potted plants. Let's dig into how you can start your own indoor composting journey and reap the rewards.
What is Indoor Composting and Why Should Home Growers Do It?
Indoor composting is the process of breaking down organic waste materials inside your home or apartment, creating a valuable soil amendment. This method is perfectly suited for home growers because it allows you to recycle kitchen and plant scraps directly into a resource that nourishes your indoor garden, reduces landfill waste, and saves money on store-bought fertilizers or potting mix enhancers.
For anyone growing in containers, on balconies, or tending to hydroponic systems (where compost can be used for companion soil plants or starting seeds), indoor composting offers a sustainable way to close the loop on your plant care. It provides a constant supply of organic matter that can revitalize tired potting mixes, enhance seedling growth, and support robust plant health without needing a large outdoor space.
Which Indoor Composting Methods Work Best for Small Spaces?
Several methods are ideal for indoor composting, each with unique benefits for home growers in small spaces. The most popular and effective options are vermicomposting and Bokashi composting.
Getting Started with Vermicomposting
Vermicomposting uses specific types of worms, usually red wigglers (Eisenia fetida), to break down organic waste into nutrient-dense castings. This method is incredibly efficient and produces a rich, dark compost often called "black gold."
- Choose a Worm Bin: You can buy a multi-tiered worm bin or make one from opaque plastic storage containers. Ensure your bin has drainage holes and a lid to keep moisture in and pests out. Size it according to the amount of waste you produce.
- Prepare Bedding: Fill the bin with moist, shredded newspaper, cardboard, or coconut coir. This provides a comfortable home for your worms and helps absorb excess moisture.
- Add Worms: Introduce a pound of red wigglers to your prepared bedding. You can purchase these online or from local garden centers.
- Feed Your Worms: Start by adding small amounts of food scraps, burying them under the bedding. As the worms get established, you can increase the quantity. Always ensure you bury the food to deter fruit flies and other pests.
- Maintain the Bin: Keep the bedding consistently moist, like a wrung-out sponge. Harvest castings every few months, gently separating the worms from the finished compost.
A well-maintained worm bin should have a pleasant, earthy smell. If you notice foul odors, you might be adding too much food, or the bin could be too wet. Adjust your feeding schedule and consider adding more dry bedding.
Understanding Bokashi Composting
Bokashi composting is an anaerobic fermentation process that uses beneficial microorganisms to pickle food waste. Unlike traditional composting or vermicomposting, Bokashi can break down a wider range of food items, including meat and dairy, though these are generally avoided for indoor growing compost. After fermentation, the pickled waste needs further decomposition, either by burying it in soil or adding it to a worm bin.
- Bokashi Bin: You'll need an airtight container, often with a spigot at the bottom to drain "Bokashi tea," a nutrient-rich liquid that can be diluted and used as a plant fertilizer.
- Add Food Scraps: Layer your kitchen scraps into the bin.
- Sprinkle Bokashi Bran: After each layer of scraps, sprinkle a handful of Bokashi bran, which contains the beneficial microbes.
- Press and Seal: Press the scraps down to remove air, then seal the lid tightly.
- Fermentation: Allow the bin to ferment for 2-4 weeks. During this time, drain any liquid that accumulates.
- Bury or Further Decompose: Once fermented, the material will look largely unchanged but will smell strongly of pickles or fermentation. It's now ready to be buried in a garden bed or mixed into outdoor soil to finish decomposing into compost. For indoor growers, you can add small amounts to a worm bin or mix it with potting soil in a separate container for a few weeks before using.
Bokashi is a great option for quickly processing a wide variety of food waste without odors during the fermentation phase, provided the bin is sealed correctly. Always handle electrical components, like grow light timers or water pumps, away from any potential spills from your composting setup.
What Can You Compost Indoors?
Knowing what to add to your indoor composting system is key to its success and preventing odors or pests. For most indoor composting methods, especially vermicomposting, focus on plant-based materials.
Ideal materials for indoor composting include:
- Fruit and vegetable scraps (peels, cores, wilted greens)
- Coffee grounds and filters
- Tea bags (remove staples)
- Crushed eggshells
- Shredded newspaper, paper towels (unbleached), and cardboard
- Spent microgreen mats or hydroponic grow media (like rockwool, if shredded)
- Leaves and trimmings from your indoor plants
Avoid these items in most indoor composting systems:
- Meat, bones, and dairy products (can attract pests and create strong odors)
- Oily or greasy foods
- Diseased plants (could spread pathogens)
- Pet waste
- Chemical-treated wood or paper
For Bokashi composting, you can include meat and dairy, but remember these still need to be buried in soil or added to a separate decomposition system after fermentation, which might be challenging for pure indoor setups.
How Do You Use Indoor Compost for Your Plants?
Once your indoor composting system yields that dark, earthy goodness, it's time to put it to work for your plants. Indoor compost is a fantastic soil amendment, rich in beneficial microbes and slow-release nutrients, perfect for container gardening and seed starting.
You can mix finished compost directly into your potting soil at a ratio of 1 part compost to 3-4 parts potting mix. This enriches the soil, improves drainage, and helps retain moisture, which is crucial for plants growing under LED grow lights. For existing potted plants, you can top-dress them with a thin layer of compost, gently working it into the top inch of soil. Water thoroughly after applying to help nutrients penetrate.
Compost is also excellent for transplanting seedlings. Adding a small amount to the new potting mix provides a gentle nutrient boost, helping young plants establish strong root systems. For more on this, check out our guide on how to transplant seedlings indoors.
While compost itself isn't a complete hydroponic nutrient solution, you can use a small amount of finished, well-aged compost or compost tea (diluted liquid from vermicomposting or Bokashi tea) to enrich the soil for your companion plants, or for starting seeds that will later be moved to a hydroponic system. It introduces a living microbial element that can benefit root health. Always dilute compost tea significantly before using it on plants to avoid nutrient burn.
Final Thoughts
Embracing indoor composting is a rewarding step for any home grower committed to sustainability and healthier plants. By turning everyday kitchen scraps into a valuable resource, you're not just reducing waste, you're actively nurturing your green space.
Start small, choose a method that fits your lifestyle, and watch your plants thrive on your homemade, nutrient-rich amendments. Keep exploring MicroVeg for more tips on smart, small-space gardening!
Frequently Asked Questions
Does indoor composting smell bad?
When managed correctly, indoor composting systems like vermicomposting or Bokashi bins should not produce foul odors, often smelling earthy or slightly yeasty for Bokashi. Bad smells usually indicate an imbalance, such as too much wet food or incorrect material.
Can I put all food scraps into an indoor compost bin?
For most indoor composting methods like vermicomposting, it's best to stick to fruit and vegetable scraps, coffee grounds, and eggshells. Meat, dairy, and oily foods are generally avoided as they can attract pests and create strong odors in small spaces.
How long does it take to make compost indoors?
The time varies by method. Vermicomposting can produce usable castings in 2-4 months, while Bokashi fermentation takes about 2-4 weeks, after which the material still needs further decomposition in soil for another 2-4 weeks to become usable compost.
What is 'compost tea' and how do I use it?
Compost tea is a liquid fertilizer created by steeping finished compost in water, or it can be the liquid drained from a Bokashi bin. It's rich in nutrients and beneficial microbes and should be diluted with water before being used to water plants or as a foliar spray.
Explore More Plant Care Guides
 Plant Care
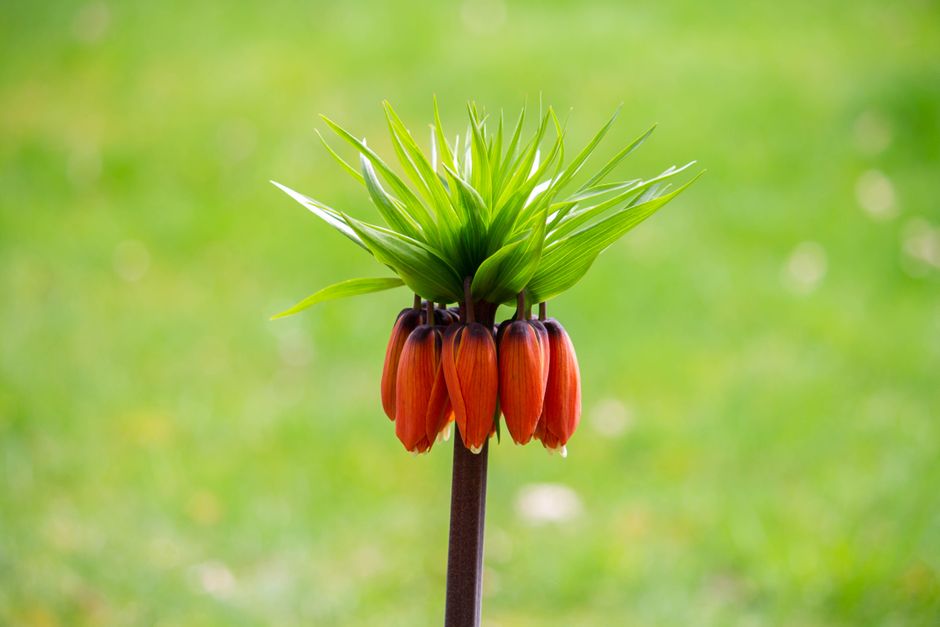
Crown Imperial Indoors: Can This Showstopper Thrive?
Learn if the magnificent Crown Imperial can truly thrive in your indoor container garden or on your balcony, and what challenges you might face.
 Plant Care
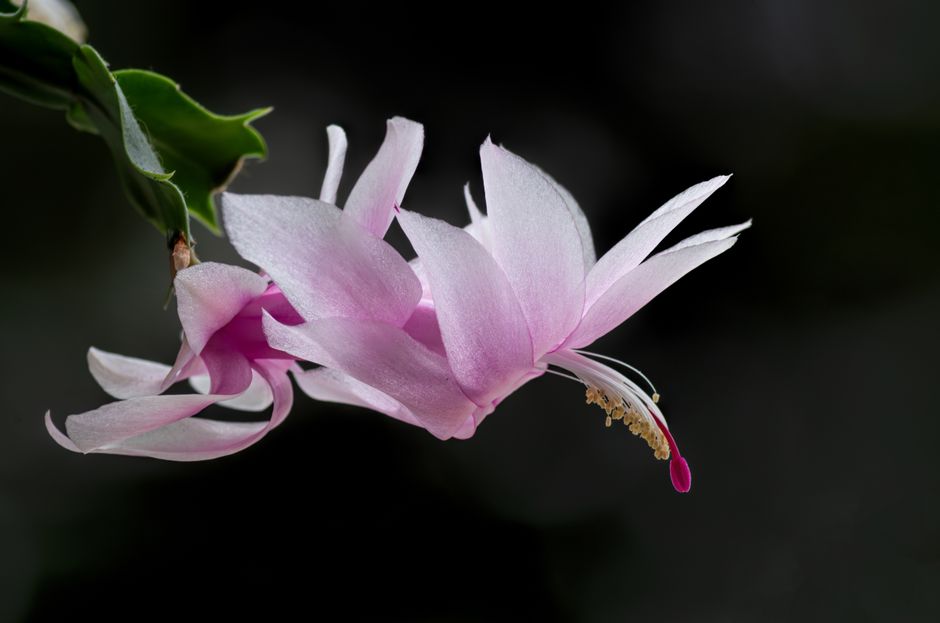
Christmas Cactus Bloom: 3 Secrets for Indoor Growers
Learn the simple, practical secrets to make your Christmas cactus bloom beautifully indoors, turning your home into a festive display.
 Plant Care
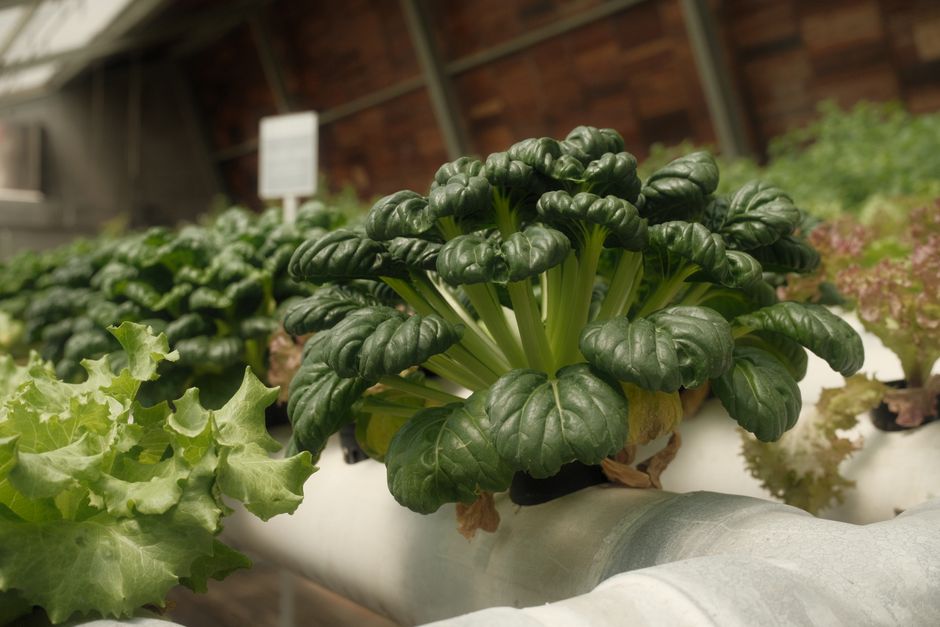
Prevent Algae in Hydroponics: Your Guide to Clean Systems
Discover simple, effective strategies to prevent algae in hydroponics and keep your indoor gardening system clean and your plants thriving.