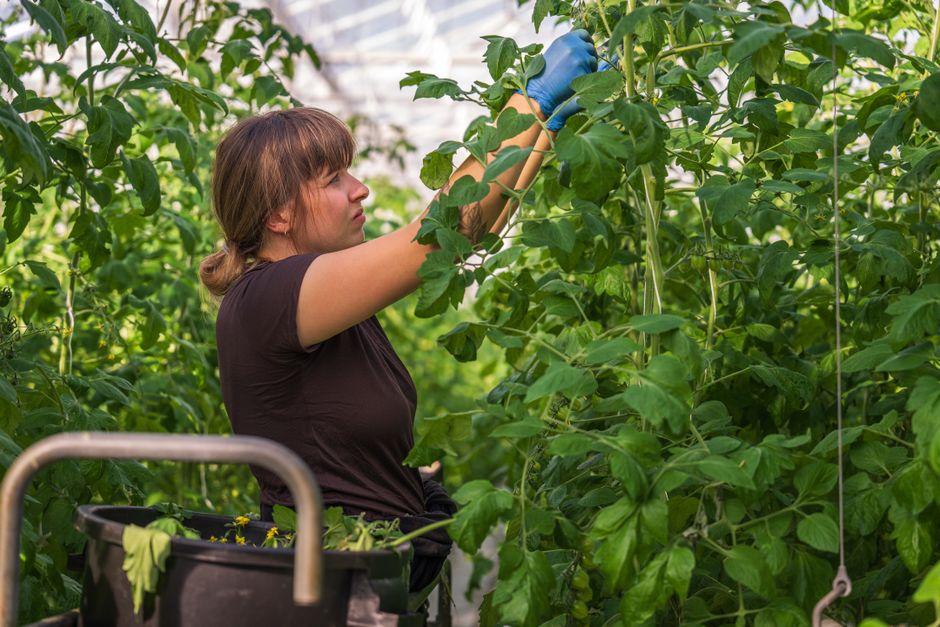
Stop Tomato Blossom End Rot in Container Plants
Few things feel more disappointing than watching your indoor or container tomatoes grow, only to see dark, leathery spots appear on the bottom of the fruit. The good news is that you can stop tomato blossom end rot with one fundamental change to your routine. By stabilizing moisture around the roots, you ensure your plants receive the steady calcium flow they need to set healthy, flawless fruit.
What Causes Tomato Blossom End Rot in Containers?
Blossom end rot happens when developing tomato fruits do not get enough calcium while their cells are rapidly dividing. This issue is almost never caused by a lack of calcium in your soil or hydroponic reservoir. Instead, it occurs because calcium relies entirely on steady water uptake to move through the plant stem and into the fruit.
When container soil dries out completely, water movement stops. Even if you soak the pot an hour later, the damage to the young cell walls inside the forming tomato has already occurred. As the tomato expands, those damaged tissues collapse, turning into a dark, sunken, leathery scar at the bottom end.
Container plants and indoor setups are especially prone to this condition because small pots dry out quickly under grow lights or on warm sunny balconies. Unlike deep outdoor garden beds, containers hold a limited volume of soil, making root zones far more vulnerable to rapid moisture fluctuations. If you have experience maintaining a perennial container garden, you already know how quickly potting mixes can lose moisture on warm days.
How to Stop Tomato Blossom End Rot With Proper Watering
To stop tomato blossom end rot, you must keep the root zone consistently moist without creating soggy, waterlogged conditions. The key is to eliminate the severe cycle of drying out completely and then soaking the pot.
In traditional container gardening, check your pots once or twice daily. Insert your finger about an inch into the soil. If it feels cool and damp, hold off on watering. If the top inch feels dry, add water until it begins to trickle from the bottom drainage holes. Always drain any excess water out of the saucer after fifteen minutes so the roots do not sit in stagnant pools.
For indoor growers using hydroponic systems or self-watering planters, check reservoir levels daily. Keep the water level topped up with fresh, balanced solution so the roots never experience dry spells.
Setting Up a Reliable Water Delivery System
Automating your watering schedule takes the guesswork out of moisture management. Simple drip irrigation systems with simple digital timers work wonders for balcony pots and grow tents alike.
Sub-irrigated planters, often called self-watering pots, are another fantastic choice for container tomatoes. These containers pull water upward into the soil through capillary action as the plant drinks, maintaining an even moisture level 24 hours a day.
When setting up any automated system, safety comes first. Keep all electrical pump cords, digital timers, and grow light power strips elevated off the floor and away from water trays to avoid accidental spills and electrical hazards.
How Do You Fix Calcium Deficiency in Hydroponic and Indoor Tomatoes?
Fixing calcium deficiency in indoor plants requires balancing nutrient absorption and encouraging healthy transpiration through proper airflow. Even if your nutrient mix has plenty of calcium, your tomato plants cannot use it if environmental conditions block absorption.
In hydroponics, root absorption depends heavily on nutrient solution pH. If your pH drifts too low or too high, calcium becomes chemically locked out, preventing roots from drawing it upward. Follow the target pH recommendations provided on your hydroponic nutrient package and check your reservoir regularly with a clean meter or test kit.
Air circulation is another critical factor indoors. Plants transport calcium from roots to leaves and fruit through transpiration, which is the process of water evaporating off the foliage. Small oscillating fans positioned in your indoor space gently move air across the leaf canopy, encouraging steady water movement throughout the plant tissue.
Key Steps for Indoor Calcium Management
Maintaining proper nutrient levels indoors involves a few straightforward practices. Focus on balance rather than pouring heavy calcium additives into your soil or reservoir right away.
- Monitor root moisture levels daily to prevent sudden dry spells during active fruit growth.
- Maintain proper nutrient solution pH according to the directions on your liquid plant food label.
- Avoid over-fertilizing with high-nitrogen plant food, which causes rapid leafy growth at the expense of calcium delivery to the fruit.
- Use small fans to maintain air movement around indoor plants, encouraging natural transpiration.
- If using reverse osmosis or distilled water in hydroponics, include a standard calcium-magnesium supplement as directed on the bottle.
Common Mistakes That Trigger Blossom End Rot
The most common mistakes that trigger blossom end rot include inconsistent watering habits, heavy nitrogen feeding, and damaging roots during routine plant care. Avoiding these common traps keeps your tomato plants growing strong from flower to harvest.
High nitrogen fertilizers promote lush green leaves and rapid stem growth. However, when a tomato plant grows foliage too quickly, the leaves absorb almost all the incoming calcium, leaving little to none for the developing fruit. Stick to balanced bloom or fruit-focused nutrient formulas once flowers appear.
Root damage is another hidden cause. Deep cultivation, aggressive weeding, or disturbing the root ball while repotting reduces the plant's ability to take up water. Much like growing beans indoors, tomatoes prefer stable root zones where tender feeder roots remain undisturbed throughout their growth cycle.
- Allowing container soil to dry out completely until leaves wilt.
- Applying excessive high-nitrogen fertilizer after fruit set has begun.
- Using pots without proper drainage holes, which leads to root rot and poor nutrient uptake.
- Ignoring room humidity and airflow, which slows down transpiration rates indoors.
Final Thoughts
Learning how to stop tomato blossom end rot comes down to creating a stable environment with consistent moisture and steady airflow. By avoiding wild moisture swings and keeping your nutrient balance in check, you can harvest smooth, vibrant, healthy tomatoes right from your indoor setup or balcony container. Take a look at our other practical container guides on MicroVeg to keep your small-space garden thriving all year long.
Frequently Asked Questions
Can tomatoes recover from blossom end rot after it appears?
Affected fruit cannot heal and should be removed immediately so the plant directs energy toward healthy growth. Future fruit will grow normally once watering and nutrient consistency are restored.
Does adding eggshells to container soil stop blossom end rot?
Crushed eggshells break down too slowly to help active blossom end rot during the current season. Soil moisture management and soluble calcium sources are far more effective for immediate relief.
Is tomato blossom end rot caused by a disease or pest?
Blossom end rot is a physiological condition caused by inconsistent calcium uptake, not a bacterial or fungal disease. It does not spread from plant to plant.
How often should container tomatoes be watered to prevent end rot?
Water whenever the top inch of soil feels dry to the touch, which may be daily during warm weather. The goal is maintaining continuous, uniform moisture throughout the container.
Explore More Plant Care Guides
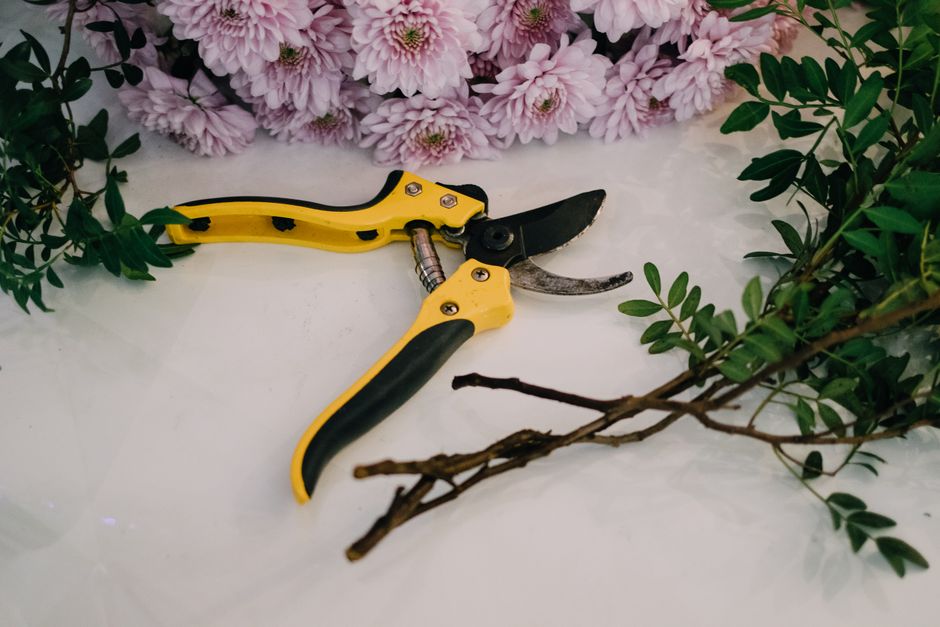 Plant Care
Pruning Chrysanthemums for Longer Indoor Blooms
Discover effective pruning techniques for chrysanthemums to ensure more vibrant and continuous blooms in your indoor garden.
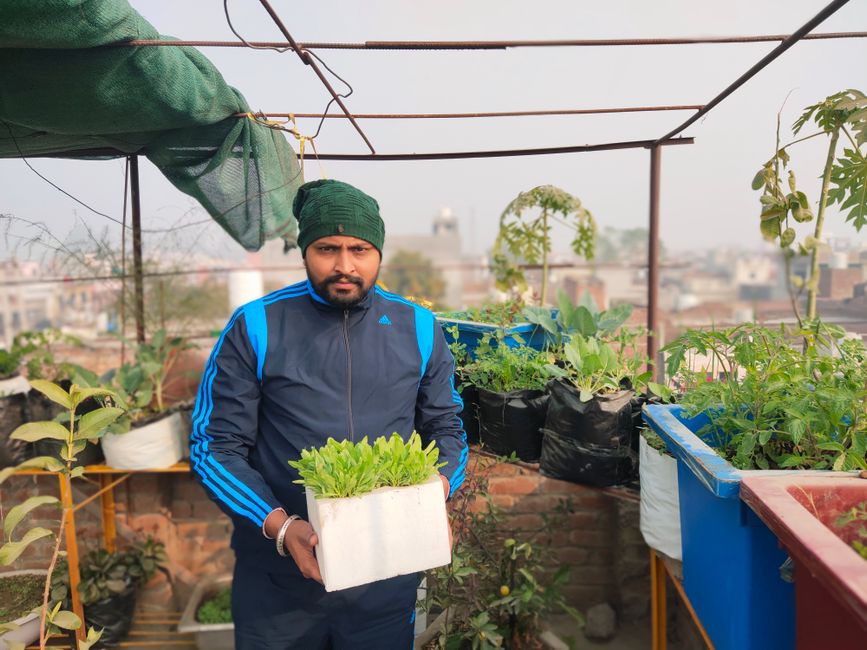 Plant Care
How to Grow Spinach Indoors: Fresh Leaves Year-Round
Learn how to grow fresh spinach indoors all year long, perfect for small spaces and a continuous harvest.
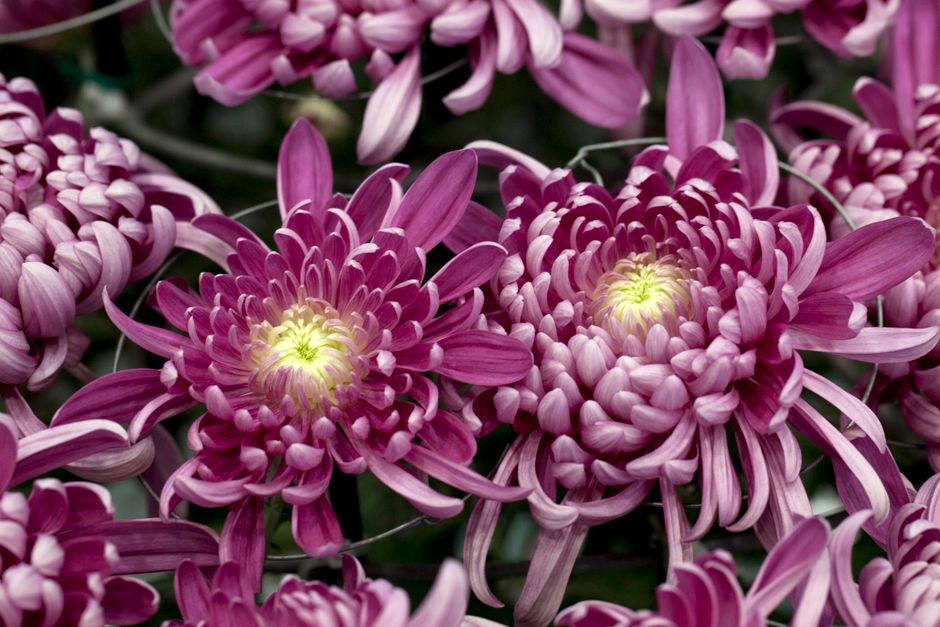 Plant Care
Indoor Chrysanthemum Care: Avoid This Common Mistake
Bringing chrysanthemums indoors for fall decor is popular, but many home growers make a key mistake that causes these vibrant plants to quickly decline.