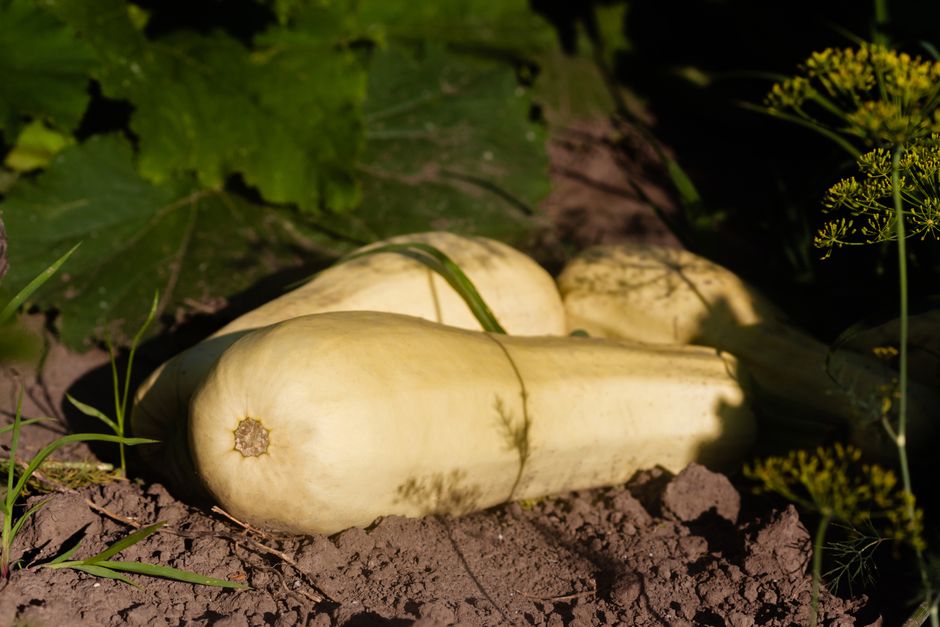
When to Harvest Winter Squash: Your Indoor Growing Guide
Growing winter squash indoors or on your balcony is a rewarding challenge, bringing a taste of the garden right to your home. Knowing when to harvest winter squash is crucial for maximizing flavor and ensuring your hard-earned crop stores well through the colder months. Winter squash refers to varieties like butternut, acorn, and spaghetti squash, which are harvested when mature and have hard rinds, allowing them to be stored for extended periods. Unlike summer squash, which is picked young and tender, winter squash needs time to fully ripen on the vine, even in a small-space setup.
While growing vining plants like squash indoors requires dedication, choosing compact or bush varieties, providing strong grow lights, and offering good support can make it possible. Once your tiny squash fruits begin to swell, the real question becomes: how do you know they are truly ready?
Why is Timing So Important for Winter Squash Readiness?
Proper timing for winter squash readiness directly impacts its flavor, texture, and ability to store for months. Harvesting too early means the squash hasn't fully developed its sugars and complex flavors, leaving you with a bland, watery result. It also won't store well, often shriveling or rotting quickly.
On the other hand, leaving winter squash on the plant too long, especially in cooler indoor conditions or on a balcony as temperatures drop, can expose it to frost damage or pests. The goal is to pick your squash at its peak maturity, right when it has accumulated maximum flavor and its skin has hardened sufficiently to protect the flesh.
For indoor growers, understanding these readiness cues is even more vital. You might not have the same outdoor environmental indicators, so paying close attention to the plant and fruit itself is your best bet. Consistent lighting, appropriate nutrient levels (especially if growing hydroponically), and good air circulation all contribute to healthy fruit development and proper ripening.
How Can You Tell if Winter Squash is Ripe for Picking?
You can tell if winter squash is ripe for picking by observing three main cues: the condition of its stem, the hardness and color of its skin, and the appearance of its resting spot. These indicators collectively signal that the squash has reached full maturity and is ready to be harvested from your indoor or container garden.
The Stem Test
The stem connecting the squash to the vine is one of the most reliable indicators of ripeness. When a winter squash is fully mature, its stem will begin to dry out, harden, and turn brown. You'll often see small cracks forming in the stem, and it might look woody rather than green and pliable.
This change signifies that the plant is no longer actively sending nutrients to the fruit, and the squash is essentially self-sealing and preparing for storage. For balcony or container plants, check the stem where it attaches to the fruit. If it's still green and supple, the squash needs more time.
When you do harvest, cut the stem with a sharp knife or pruners, leaving 2-4 inches of stem attached to the squash. Never twist or pull the squash from the vine, as this can damage the stem, creating an entry point for bacteria and significantly reducing its storage life. Keep your cutting tools clean to prevent introducing pathogens to the plant.
Skin Hardness and Color
The skin of a ripe winter squash should be hard and resistant to puncture. You can test this by trying to pierce the skin with your fingernail. If your nail easily leaves a mark, the squash is likely not ready and needs more time to mature and develop its protective rind.
As winter squash ripens, its skin also develops its full, characteristic color. For example, butternut squash turns a deep, uniform tan, while acorn squash darkens to a rich green, often with an orange spot where it rested. Any green streaks or pale patches on varieties meant to be uniformly colored indicate immaturity.
Monitor your plants carefully. If you're growing in a hydroponic system, ensure your nutrient solution is balanced to support proper fruit development and skin hardening. Good air circulation also helps the skin toughen up. Remember to always wash any produce you pick before consumption.
The "Ground" Spot (Adapted for Containers)
While traditional gardening guides refer to a "ground spot," for indoor or container-grown squash, this refers to the area where the squash rests against the container, a support net, or another surface. This resting spot should change from a pale, often yellowish or whitish color to a deeper, more uniform shade that matches the rest of the squash's mature skin color.
This color change indicates that the squash has matured throughout, not just on the exposed surfaces. For fruits supported by netting or cradled, gently check the underside. If it's still light and immature-looking, give it more time. Rotating the fruit carefully (if possible without damaging the stem) can help it color up evenly.
Consistent light from your LED grow lights, even for vining plants, plays a role here. Ensuring all sides of the fruit receive adequate light exposure can help with uniform ripening, though the resting spot will always be the last to fully change. If you're using a vertical system, consider how the fruit is cradled to allow for even ripening.
What Should You Do After Harvesting Winter Squash?
After harvesting winter squash, the next crucial step is curing it to further harden the skin and extend its storage life. Curing allows minor surface wounds to heal, concentrates the sugars, and ensures the squash will last through the winter months, providing delicious meals from your indoor garden.
To cure your squash, find a warm, well-ventilated spot with good air circulation. A temperature between 75-85°F (24-29°C) is ideal, though typical room temperature will still work if that's all you have. Lay the squash in a single layer, ensuring no two touch, for about 10-14 days. If your indoor space is humid, consider running a fan to help with airflow.
After curing, store your winter squash in a cool, dark, and dry place. A pantry shelf, a cool cupboard, or even under a bed in a spare room can work. Temperatures between 50-60°F (10-15°C) are best for long-term storage. Avoid storing them near ripening fruits like apples, which can release ethylene gas and shorten your squash's storage time.
If you've tackled a Kratky hydroponics setup for your winter squash, you'll find the harvest process largely the same, but the curing and storage steps are universal. Also, keep an eye out for common indoor plant issues like pests, which can sometimes appear even on mature fruits. Our Natural Pest Control for Indoor Plants guide offers helpful tips.
Final Thoughts
Harvesting your homegrown winter squash is a truly satisfying moment, especially when grown in a compact indoor space. By carefully observing the three key cues – the stem, skin, and resting spot – you can ensure you pick your fruits at their absolute peak. Enjoy the fruits of your labor, knowing you've mastered when to harvest winter squash for the best flavor and storage. Explore more MicroVeg guides to continue your indoor gardening adventure!
Frequently Asked Questions
Can all types of winter squash be grown indoors?
While it's ambitious, many smaller, bush-type winter squash varieties can be grown indoors or on a balcony with adequate light, support, and hand-pollination.
What happens if I harvest winter squash too early?
Harvesting winter squash too early will result in bland, watery flesh and a shorter storage life, as the squash hasn't fully developed its sugars and protective rind.
How do I cure winter squash after picking?
Cure winter squash by placing it in a warm, well-ventilated area (75-85°F or 24-29°C) for 10-14 days to harden the skin and improve storage quality.
Should I leave the stem on winter squash when harvesting?
Yes, always leave 2-4 inches of stem attached to the winter squash when harvesting, as a missing stem can create an entry point for decay and shorten its storage life.
Explore More Plant Care Guides
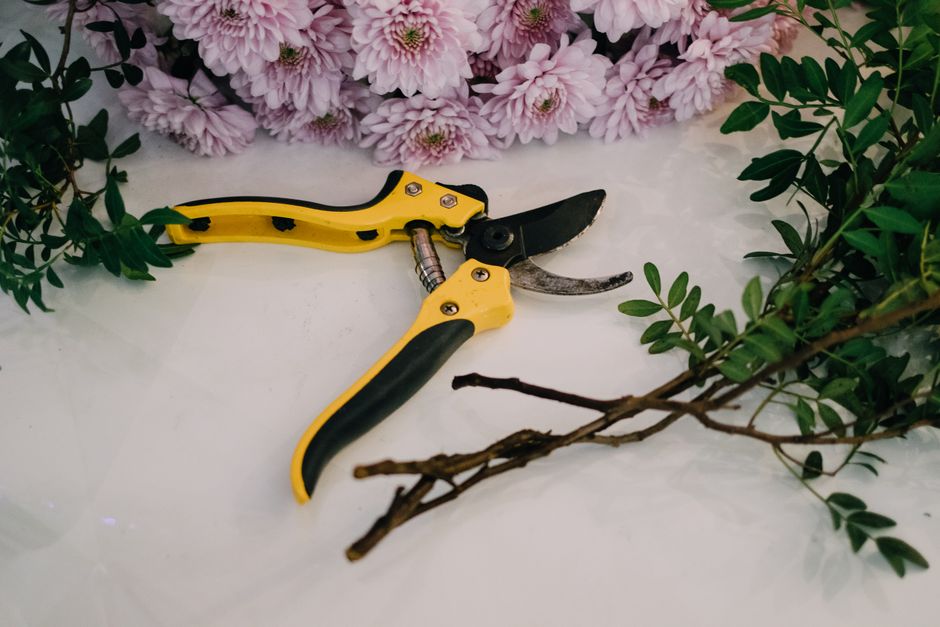 Plant Care
Pruning Chrysanthemums for Longer Indoor Blooms
Discover effective pruning techniques for chrysanthemums to ensure more vibrant and continuous blooms in your indoor garden.
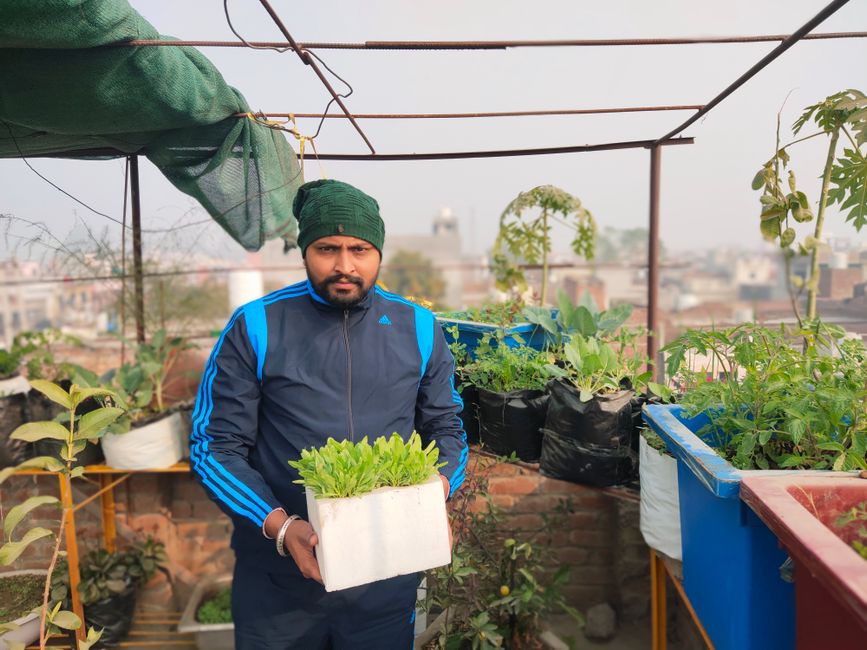 Plant Care
How to Grow Spinach Indoors: Fresh Leaves Year-Round
Learn how to grow fresh spinach indoors all year long, perfect for small spaces and a continuous harvest.
 Plant Care
Indoor Chrysanthemum Care: Avoid This Common Mistake
Bringing chrysanthemums indoors for fall decor is popular, but many home growers make a key mistake that causes these vibrant plants to quickly decline.