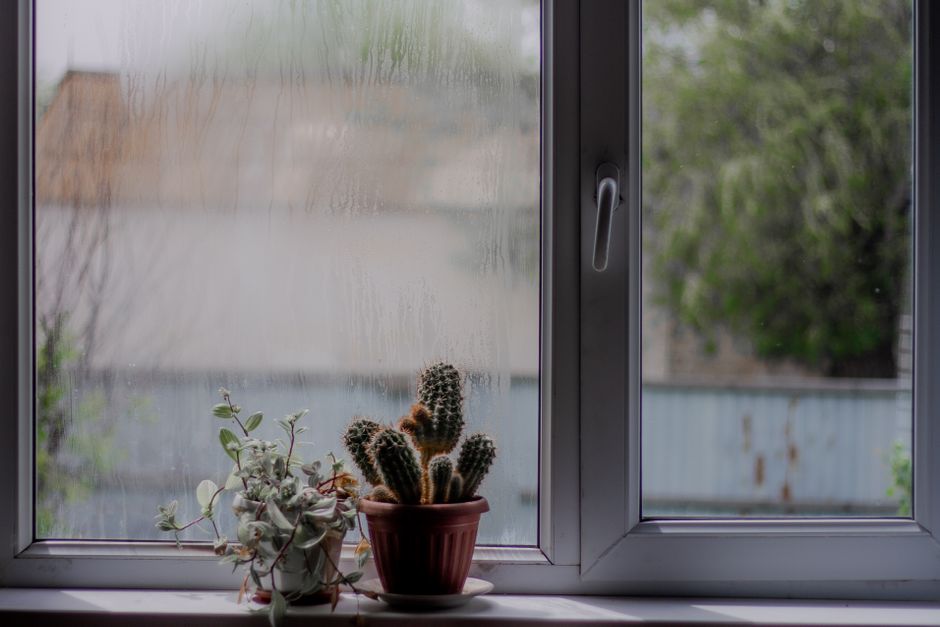
When to Remove Humidity Dome: Step-by-Step Guide
Starting seeds indoors under a clear plastic cover gives delicate seeds the moist, warm environment they need to sprout. Knowing when to remove humidity dome covers is just as important as putting them on in the first place. You should remove the humidity dome as soon as roughly half to two thirds of your seeds have sprouted and poked through the surface. Leaving the dome in place after germination creates stagnant air, traps excess moisture, promotes fungal disease, and quickly causes weak, leggy stems.
A clear dome creates a mini greenhouse that keeps your grow medium moist without washing tiny seeds away. Once green shoots emerge, that trapped moisture turns from an asset into a serious risk. Young roots need oxygen, and tender stems need fresh air circulation to grow sturdy and upright.
Why You Need to Remove a Humidity Dome on Time
You need to remove a humidity dome on time because newborn seedlings require airflow and lower humidity to develop strong stems and avoid fatal fungal rot. Trapped condensation blocks fresh air, slows down soil drying, and encourages harmful pathogens like damping off fungi to attack fragile stems right at the soil line.
When a seed is dormant, it depends entirely on ambient moisture to soften its seed coat. Once the root anchors and the first tiny leaves push into the light, the plant shifts its focus. The leaves begin to transpire water vapor into the air, and the roots take up fresh moisture from below. If the air under the dome remains saturated at near one hundred percent humidity, the seedling cannot transpire properly. That stalled process weakens the vascular system of the plant before it even gets its first true set of leaves.
What Happens If You Leave the Dome on Too Long?
If you leave the dome over sprouted seedlings, the combination of warm trapped air and high humidity encourages mold spores to multiply rapidly across your growing medium. Seedlings will also stretch rapidly toward the ceiling of the cover, creating tall, floppy stems that collapse under their own weight. In severe cases, damping off disease will strike overnight, causing entire trays of baby plants to rot at base level and topple over.
When to Remove Humidity Dome from Seedlings
You should remove the humidity dome when approximately fifty to seventy percent of the seeds in your tray have germinated and shown their first green leaves. If you wait until every single seed pops up, the earliest sprouts will spend too many days in stagnant air and suffer permanent stress.
Timing depends slightly on what you are growing and your setup. Fast sprouters like brassicas, radishes, and lettuce often shoot up in just two or three days. Slower crops like peppers, eggplants, and certain herbs may take one to two weeks. If you are learning how to start seeds for hydroponics or soil trays, grouping seeds with similar germination speeds into the same tray makes dome removal much simpler.
Signs Your Seedlings Are Ready for Open Air
Watch your trays closely twice a day during the germination window so you do not miss the transition point. Here are the specific visual signs that tell you it is time to take the cover off:
- Green cotyledons, or seed leaves, have fully pushed up through your soil, rockwool, or coco plugs.
- More than half of the cells in the tray show active green growth.
- Tall sprouts are within an inch of touching the underside of the clear plastic lid.
- Moisture droplets cling heavily to the plastic while strong root tips begin exploring the base of the cell.
As a quick safety note, always keep electrical cords, heat mats, and grow light plugs completely dry when lifting moisture-covered domes off your seed trays. Shake the heavy condensation back into the tray or wipe it into a sink before setting the lid aside.
How to Acclimate Seedlings to Open Air Step-by-Step
The best way to transition seedlings to open air is to gradually lower the humidity over twelve to twenty-four hours instead of shocking them with dry room air instantly. Acclimating tender sprouts prevents wilting caused by sudden changes in moisture levels.
If your dome has built-in adjustable vents, start by opening them halfway as soon as the first seeds break through the surface. This introduces gentle airflow while keeping residual moisture around the late sprouters. Twelve hours later, open the vents completely so room air circulates freely throughout the tray.
If your dome does not have vents, prop up one side of the cover with a small wooden block, clothespin, or pencil. This simple gap allows heat and steam to escape while fresh room air enters. After twelve hours of propping the lid open, lift the dome off completely and store it until your next batch of seeds.
Once the lid is off, place an oscillating fan on low several feet away from the tray. A faint breeze stimulates the seedlings to produce stronger cell walls, creating thick, sturdy stems that will thrive whether you choose hydroponics vs soil for their permanent home.
Common Mistakes When Using a Seedling Humidity Dome
The most common mistake growers make is keeping the humidity dome sealed tightly under intense grow lights after sprouts appear. Combining bright lights with a closed plastic lid creates extreme heat buildup that can cook tender green shoots within a few hours.
Another frequent mistake is watering from above while the dome is still in use. Because a covered tray loses very little water to evaporation, adding more liquid creates soggy, airless conditions in your plugs. Check your medium with a gentle touch instead. If the surface looks dark and damp, let it be.
Growers also struggle when mixing seed varieties with vastly different germination timelines in one large tray. When tomatoes sprout in four days and rosemary takes fourteen, the tomatoes will stretch and rot while waiting for the rosemary. Use smaller separate trays or insert dividers so you can remove individual covers without drying out the slower seeds.
Final Thoughts
Learning when to remove humidity dome covers gives your indoor seedlings the best possible start by balancing initial germination moisture with the airflow needed for strong root and stem growth. Keep a close eye on your trays daily, open your vents at the first sign of green, and remove the lid completely once the majority of seeds are up. Explore our other MicroVeg guides to master every stage of indoor growing from seed to harvest.
Frequently Asked Questions
Can I leave the humidity dome on until all seeds sprout?
No, you should remove or vent the dome when about half to two thirds of the seeds emerge. Waiting for every late seed will cause the early sprouts to stretch, turn weak, and risk fungal rot.
Do seedlings need light while the humidity dome is on?
Yes, seeds need immediate access to bright light as soon as they break the surface. Turn on your grow lights right at germination while beginning to vent the dome.
What should I do if my seedlings wilt after removing the dome?
If seedlings droop immediately after removal, mist them lightly and place the dome back on with the vents wide open for another half day to help them adjust gradually.
Should I keep the heat mat on after removing the humidity dome?
Turn off or remove the heat mat once most seeds have sprouted and the dome comes off, as standard room temperatures prevent seedlings from growing too fast and leggy.
Explore More Plant Care Guides
 Plant Care
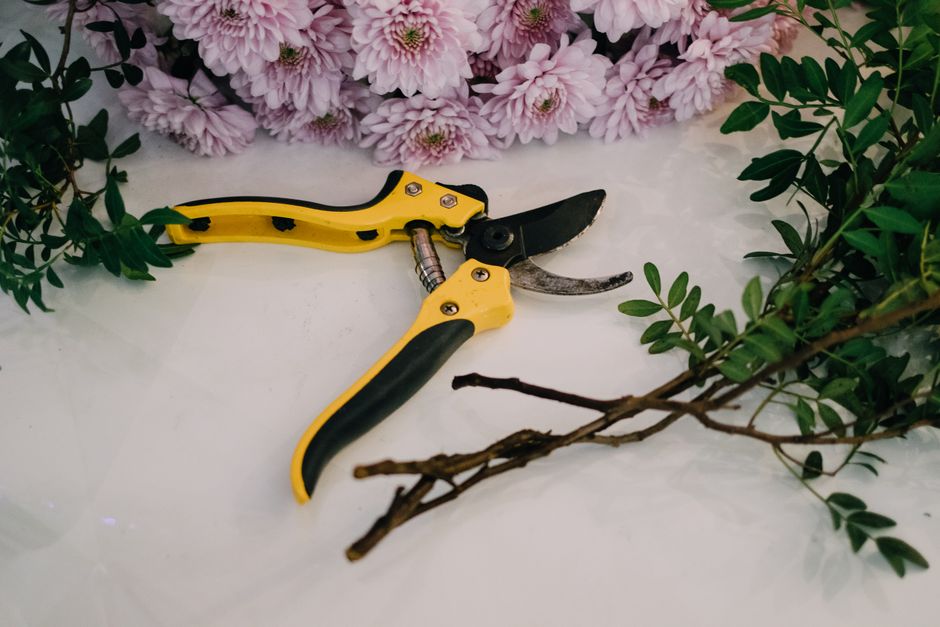
Pruning Chrysanthemums for Longer Indoor Blooms
Discover effective pruning techniques for chrysanthemums to ensure more vibrant and continuous blooms in your indoor garden.
 Plant Care
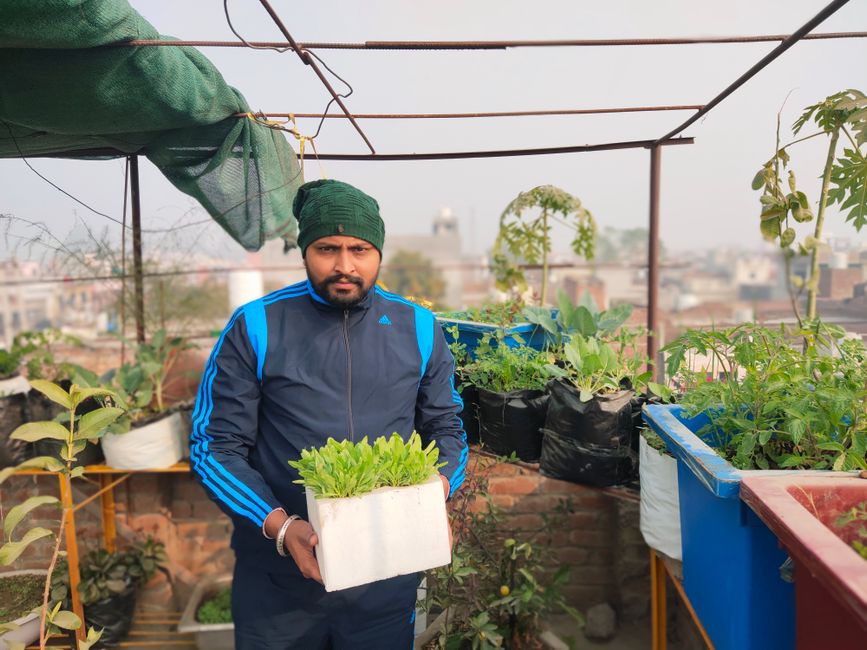
How to Grow Spinach Indoors: Fresh Leaves Year-Round
Learn how to grow fresh spinach indoors all year long, perfect for small spaces and a continuous harvest.
 Plant Care
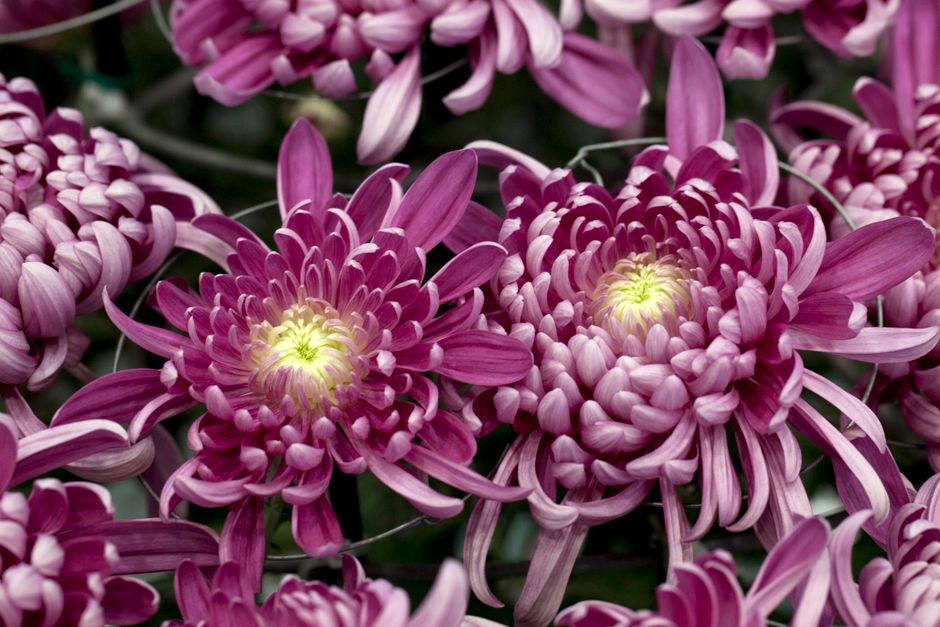
Indoor Chrysanthemum Care: Avoid This Common Mistake
Bringing chrysanthemums indoors for fall decor is popular, but many home growers make a key mistake that causes these vibrant plants to quickly decline.